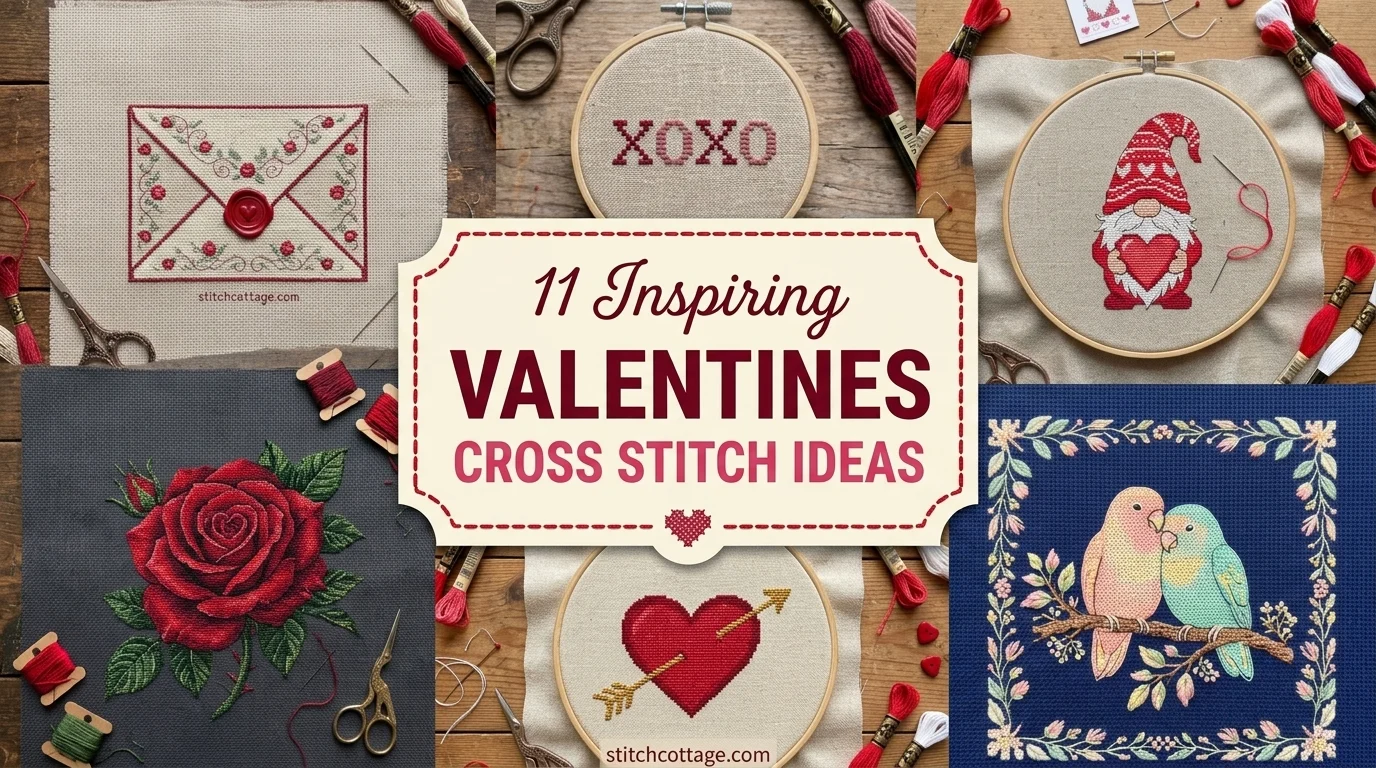
A valentine of 20 by 20 stitches fits into one evening, and one of 30 by 30 takes a weekend. That is why the best valentines cross stitch patterns are small, and why you should check the stitch count before you buy a single skein.
Below are eleven different valentines, each with a size, a pace and a finish. You can stitch any of them by 14 February if you start early enough and recount from the centre.
Quick answer: how to pick a valentine you will actually finish.
- Fabric: 14 count aida, the usual choice for a first small project.
- Thread: two strands of floss for crosses, one strand for backstitch.
- Size: a small motif is about 20 by 20 or 30 by 30 stitches.
- Width: stitches across divided by 14 gives inches on 14 count.
- Start: at the centre of the chart and the centre of the fabric.
I read the stitch count and the colour key before I commit to any valentines cross stitch patterns. If the chart has neither, I walk away. For a heart as a shape, my ten cross stitch heart ideas go deeper than this page does.
A valentine is finished on time when you choose a chart of about 20 to 30 stitches square, count it from the centre, and decide how it will be mounted before the first cross.
You will not find a plain heart below. Hearts live in their own article, so these eleven are everything else a February table needs.
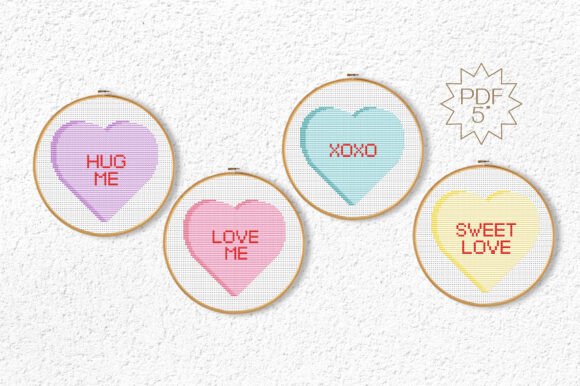
1. An XOXO sampler for a small hoop is the evening project
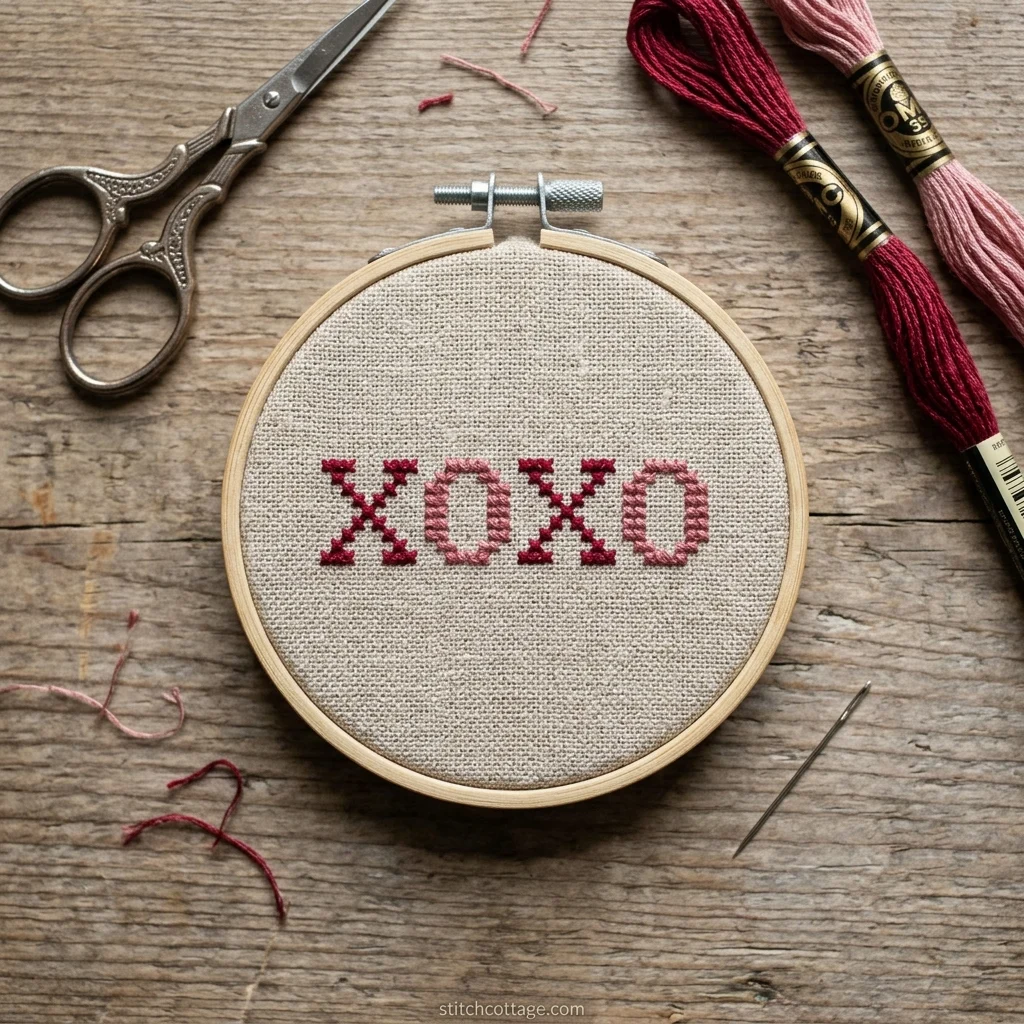
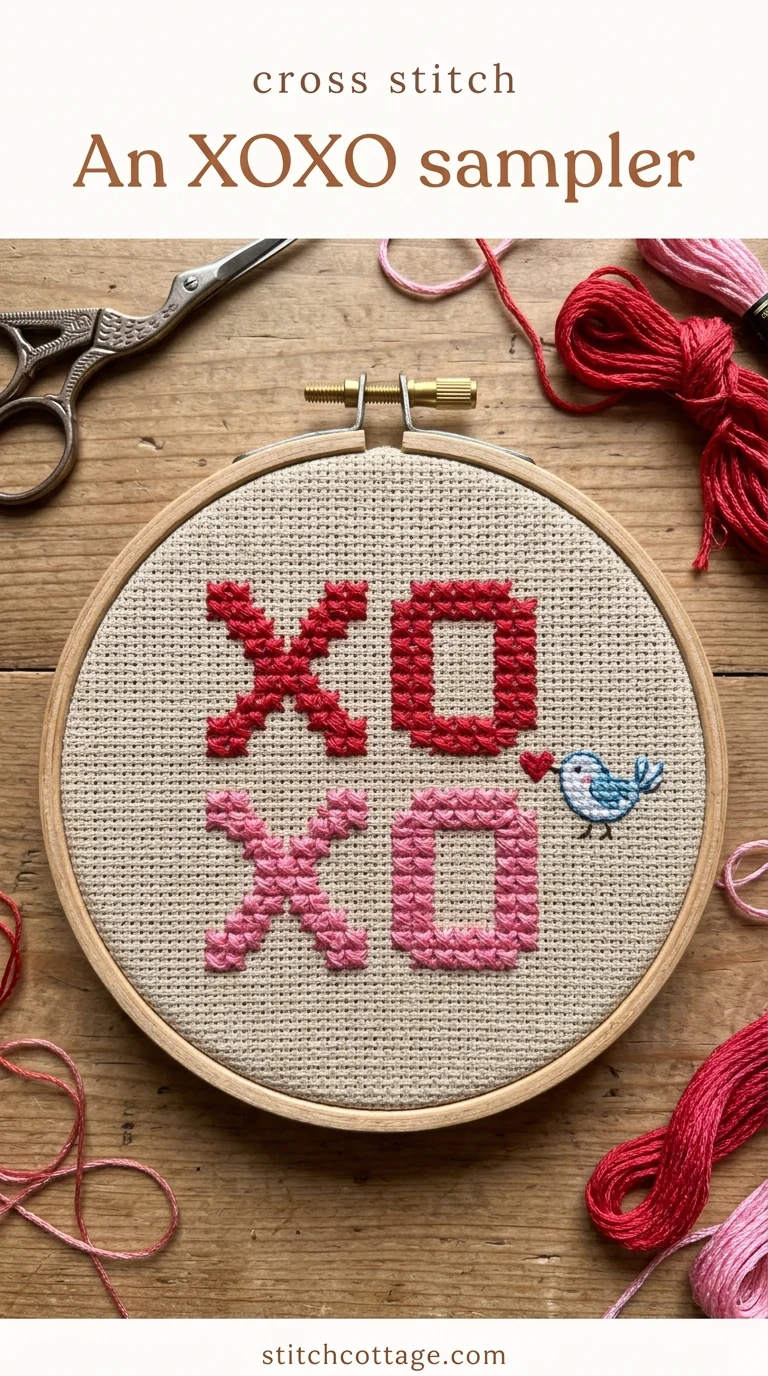
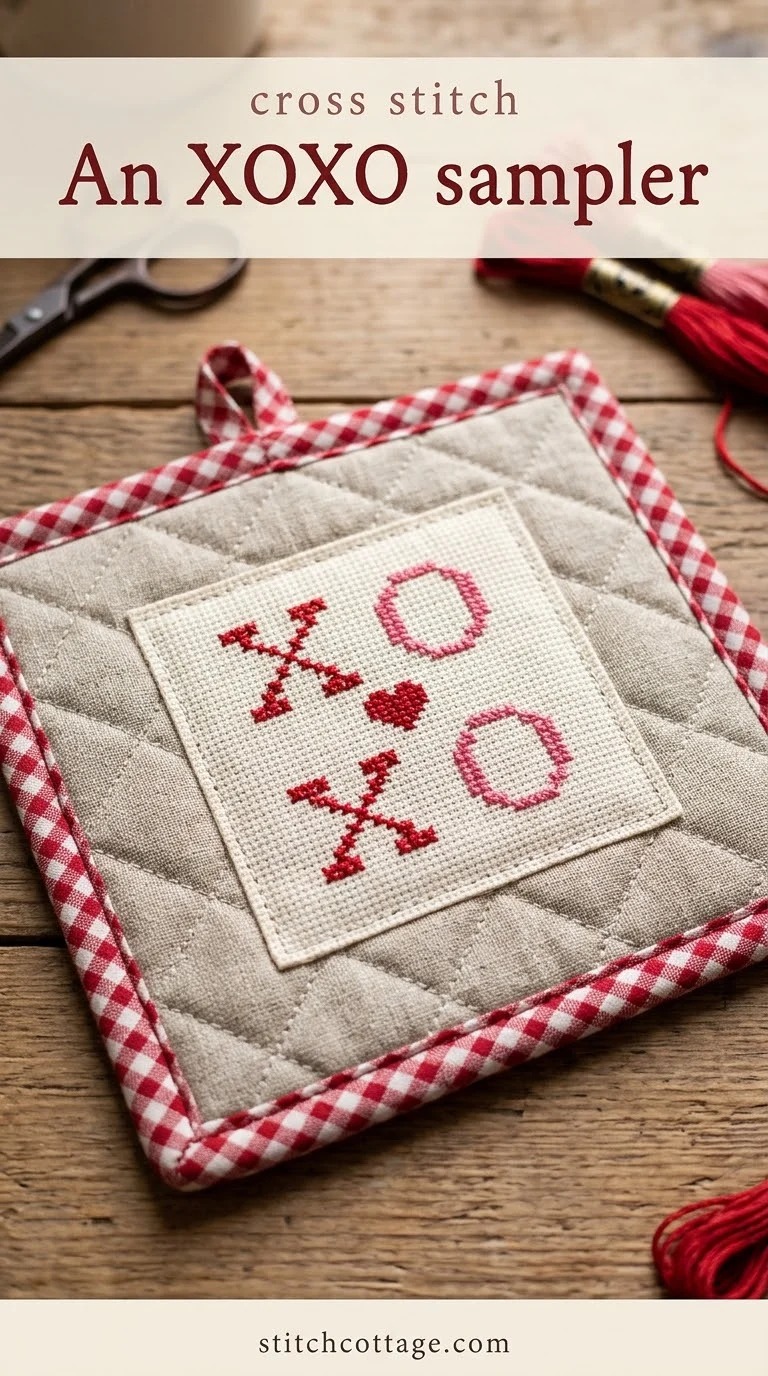
This is the quickest valentine I know. Four letters, two colours, no scenery. An xoxo cross stitch fits inside a 20 by 20 block, so you can finish it in one evening.
- Chart the four letters in two rows of two inside a 20 by 20 square, X O above X O, with one empty column between letters.
- Fold the aida in quarters and press the crease before the first cross.
- Use two strands of floss and stitch the X’s first.
- Fill the O’s, leaving the blank squares between them empty.
- Check the front and the back against the light for missed half stitches.
It breaks on spacing. You will cross a blank square by habit, and the letters merge. Count the empty columns as carefully as the filled ones.
I stitch this one in a pink and a deep red, because two close shades make the letters read as a pair. You put it in a small hoop and leave the aida showing around it. You can then hang it on a nail or lean it on a shelf, and nobody needs a mat. The whole thing is small enough to start after supper and finish before bed.
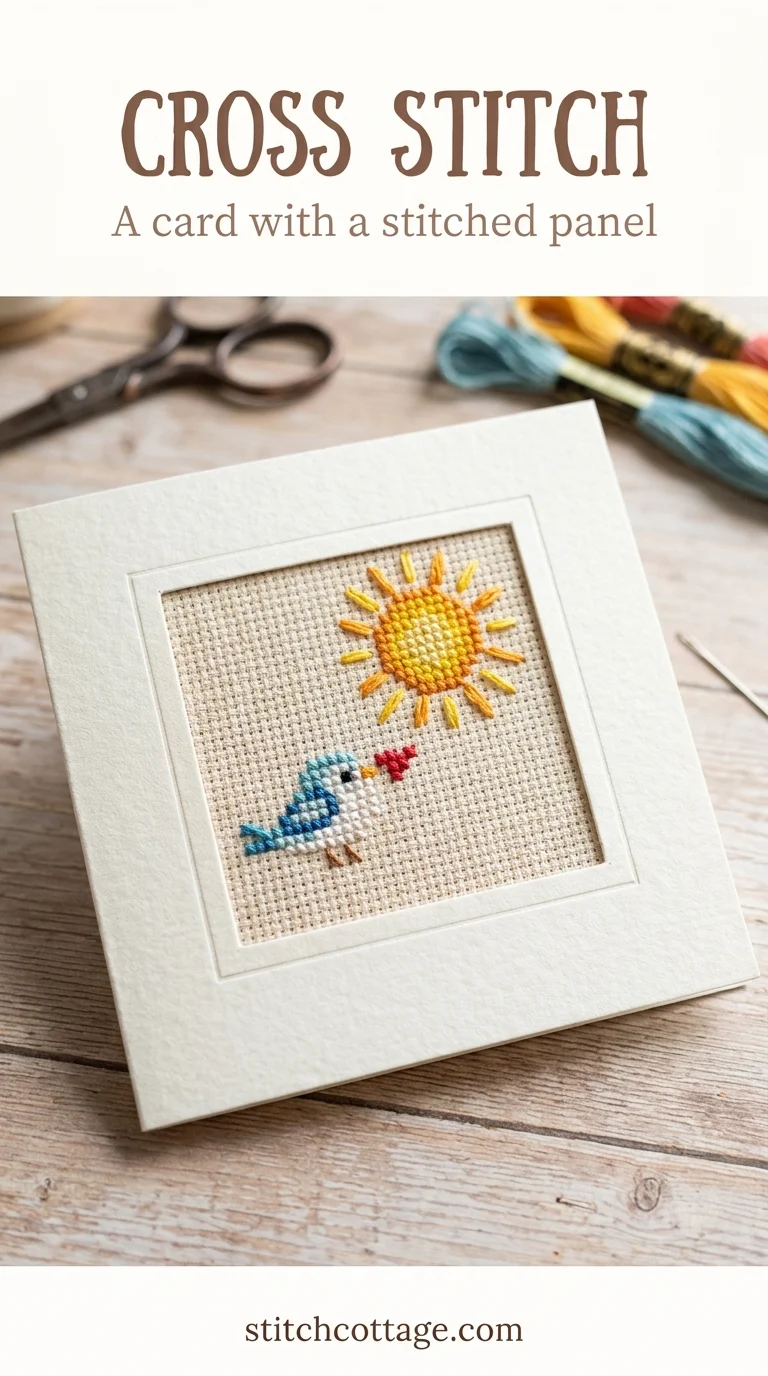
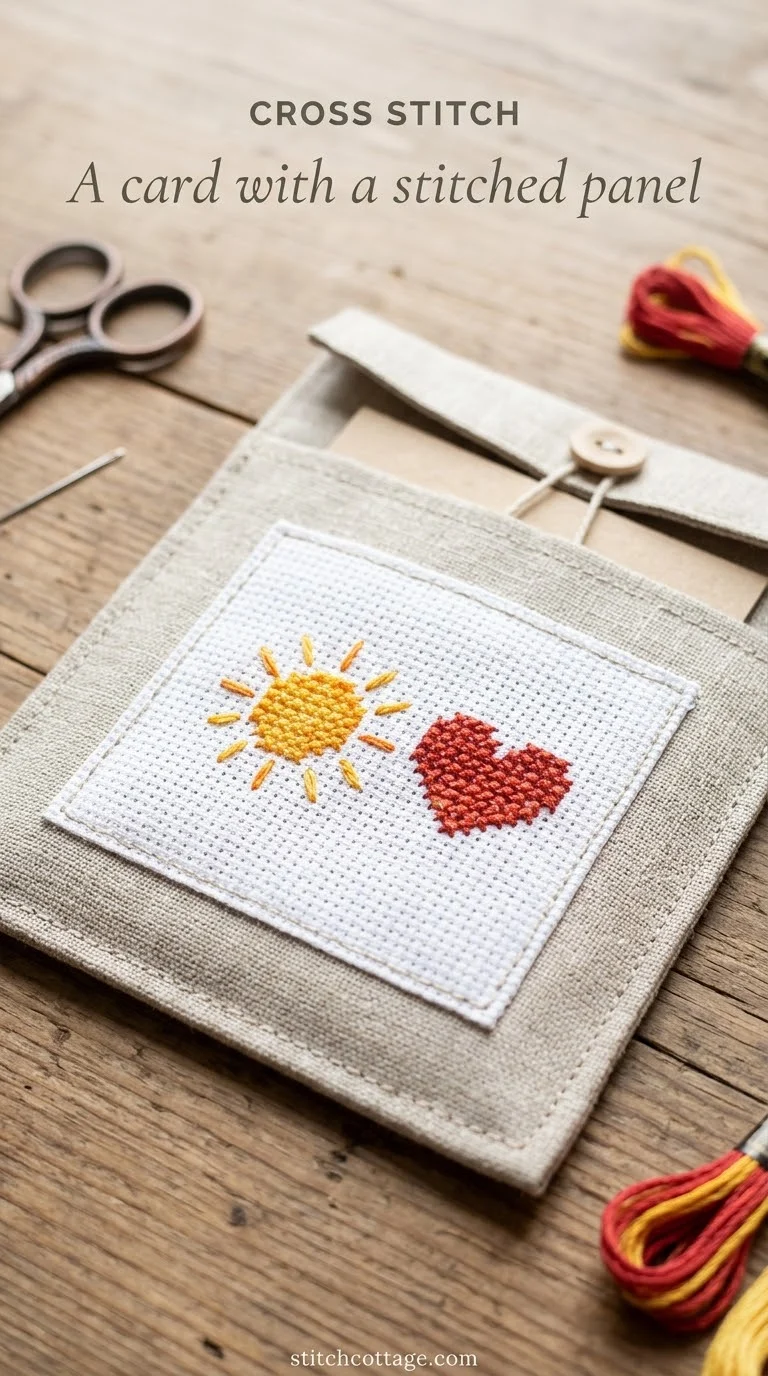
2. A card with a stitched panel turns one small motif into a gift
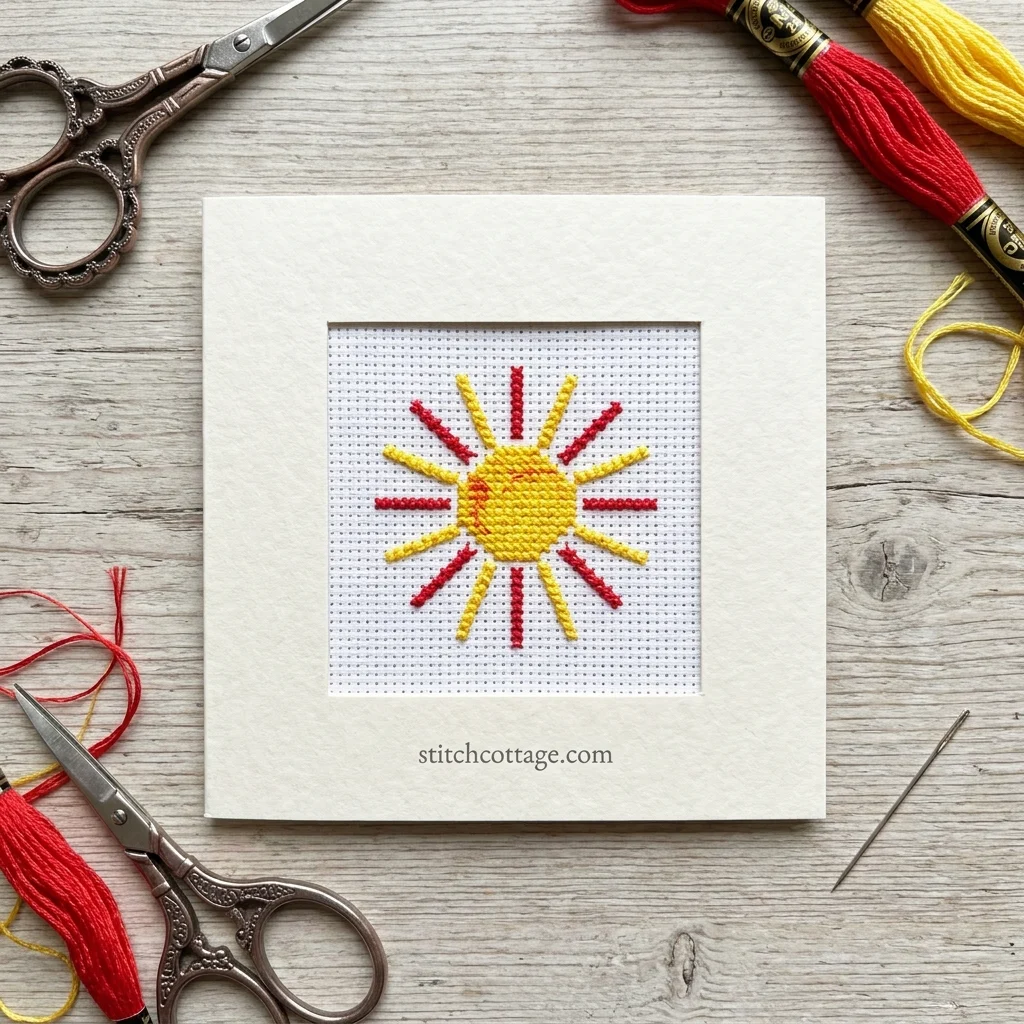
The stitching is the easy half here. A valentine cross stitch card needs a motif small enough to sit inside a card window, so keep it to about 20 by 20 stitches. That is the part you plan first.
Once the card works, a bright round motif suits it well, and my sun patterns with a chart check show how to count one.
- Divide the stitches across by 14 to get the width in inches.
- Cut the aida with a generous margin on every side.
- Work one colour at a time and finish each before the next.
- Press it from the back, trim the margin square and seal the cut edges with fray check or fold the margin behind the panel.
- Mount it behind the card window with double-sided tape at the edges, not through the stitching, and write inside.
Where does it go wrong? You trim too early. Leave the margin until the card is cut, then match it to the window.
You choose the colours before you buy floss, since a card looks best with two or three. I skip a pink ombre floss here, because it adds more colours to the key, and a French knot freebie chart from a pattern site is easy to mistake for a finished design, so check its stitch count first. You keep the motif simple and let the paper do the rest. That way you spend your time on neat crosses, not on a long colour key.
3. A cupid cross stitch arrow shows why backstitch comes last
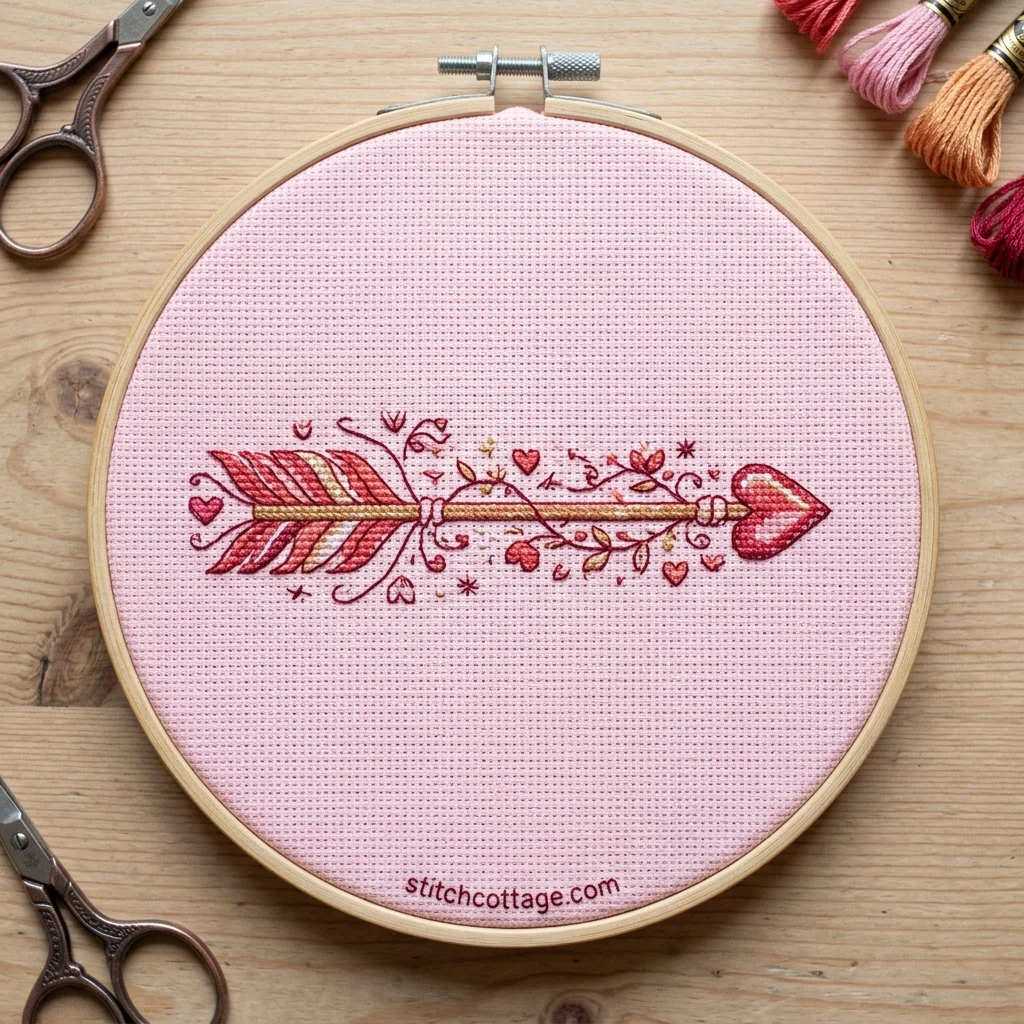
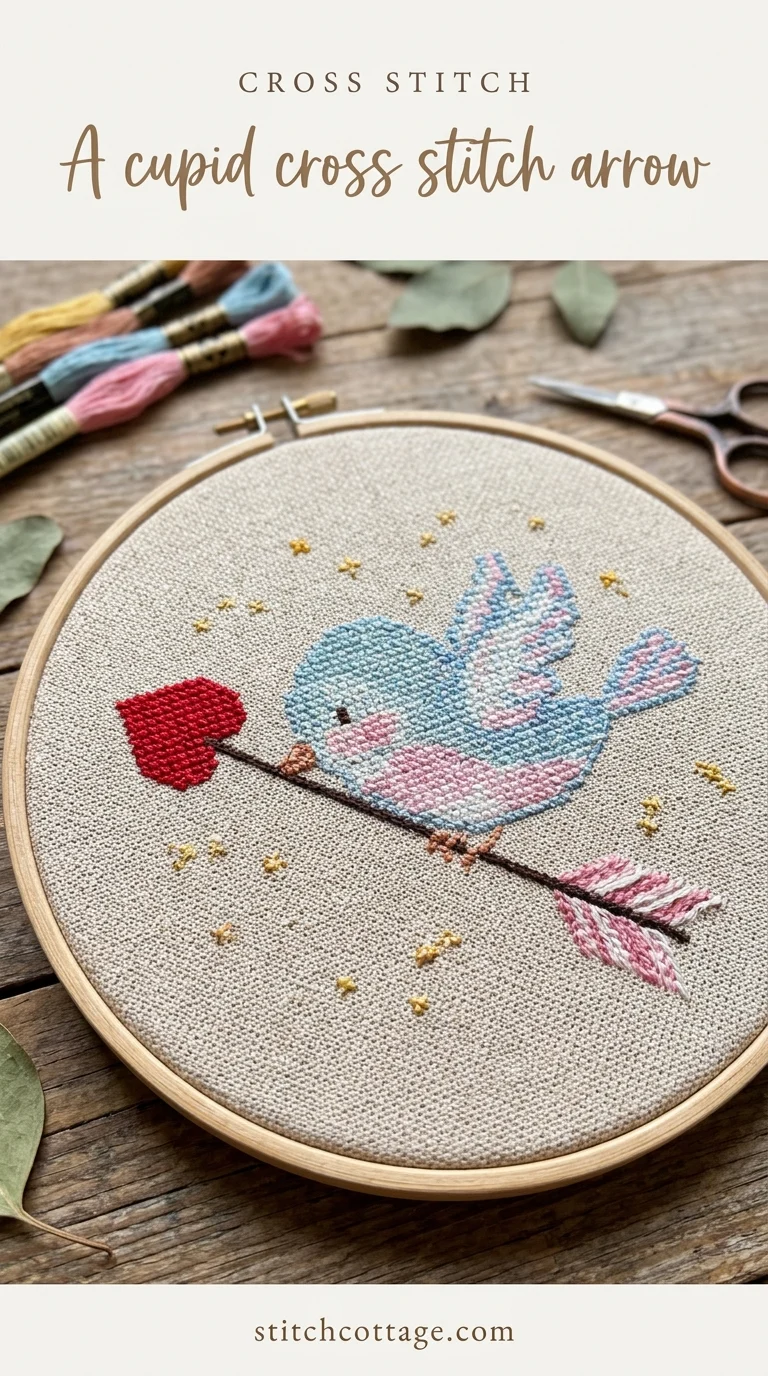
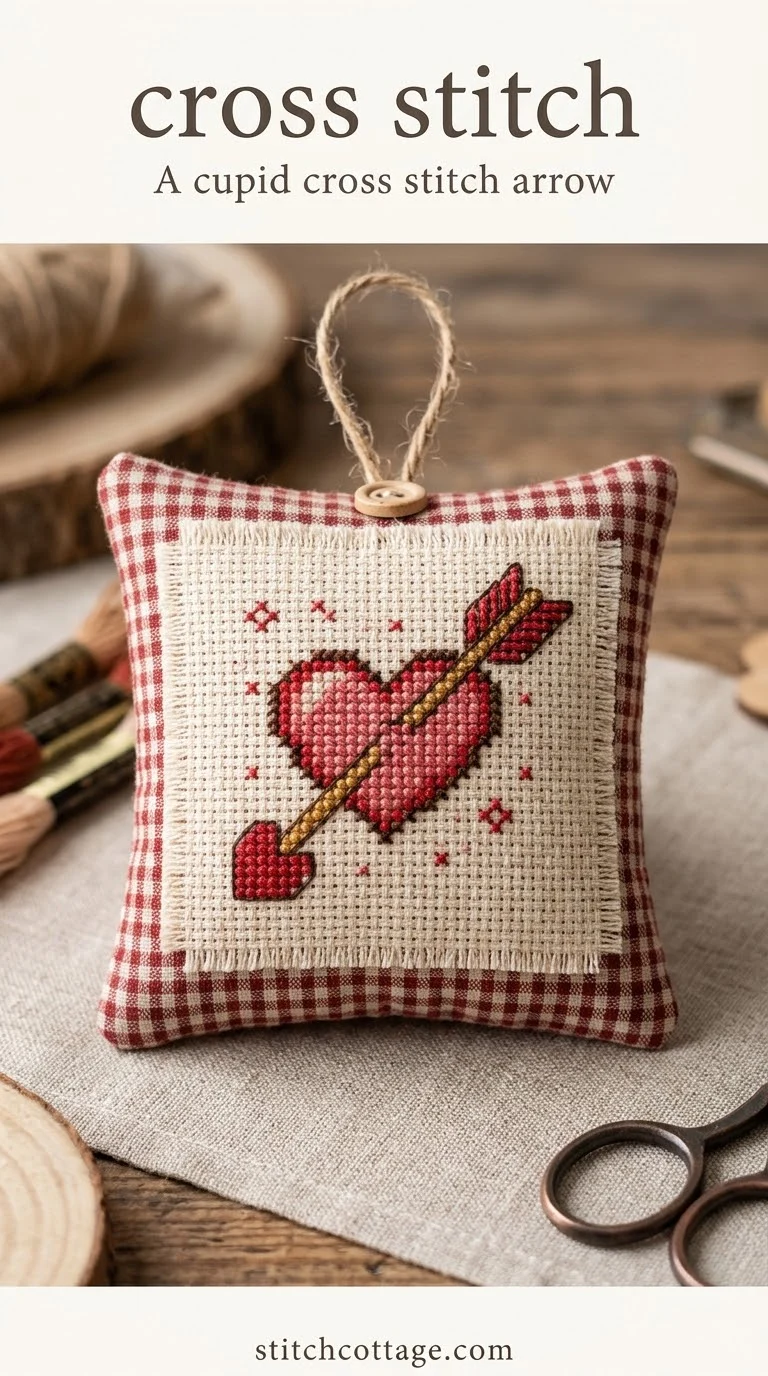
A cupid cross stitch is the easiest way to learn this rule. The arrow shaft is a thin diagonal line, and crosses make it look stepped. Backstitch with one strand smooths it, and you add it after all the crosses.
If you like a night sky behind the arrow, my ten star cross stitch ideas give you small motifs that sit nicely beside it.
- Stitch the arrowhead and the feathers in whole crosses first.
- Keep the top diagonal of every cross facing the same way.
- Work the shaft with one strand of backstitch last.
- Do not carry dark floss more than three or four squares across empty fabric.
It breaks when you backstitch too early. The line then sits under the crosses and looks lumpy.
I keep the arrow to two colours and the wings to one. A fussy cupid with many shades takes too long, and a February deadline does not wait. Cupid cross stitch works best when the shape is clear from across the room. You hold the finished piece at arm’s length and see whether the arrow still reads.
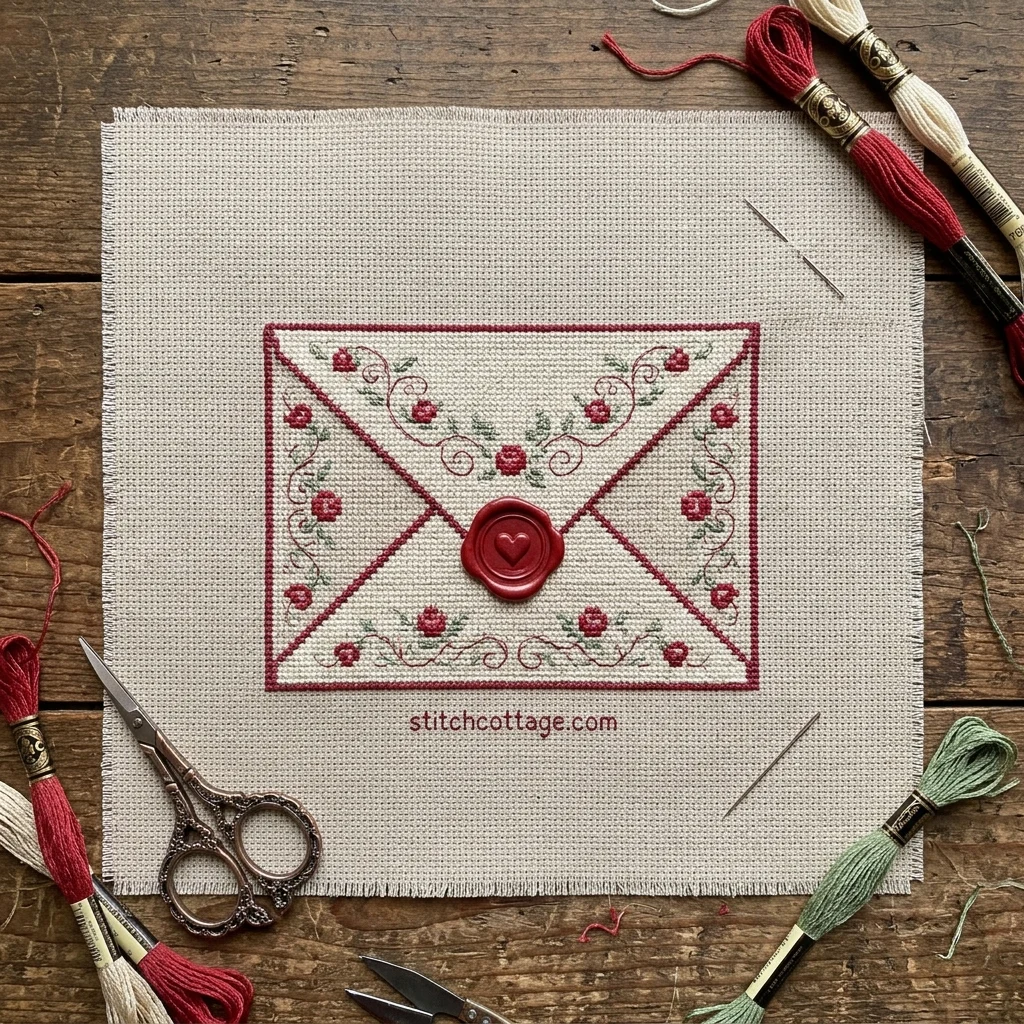
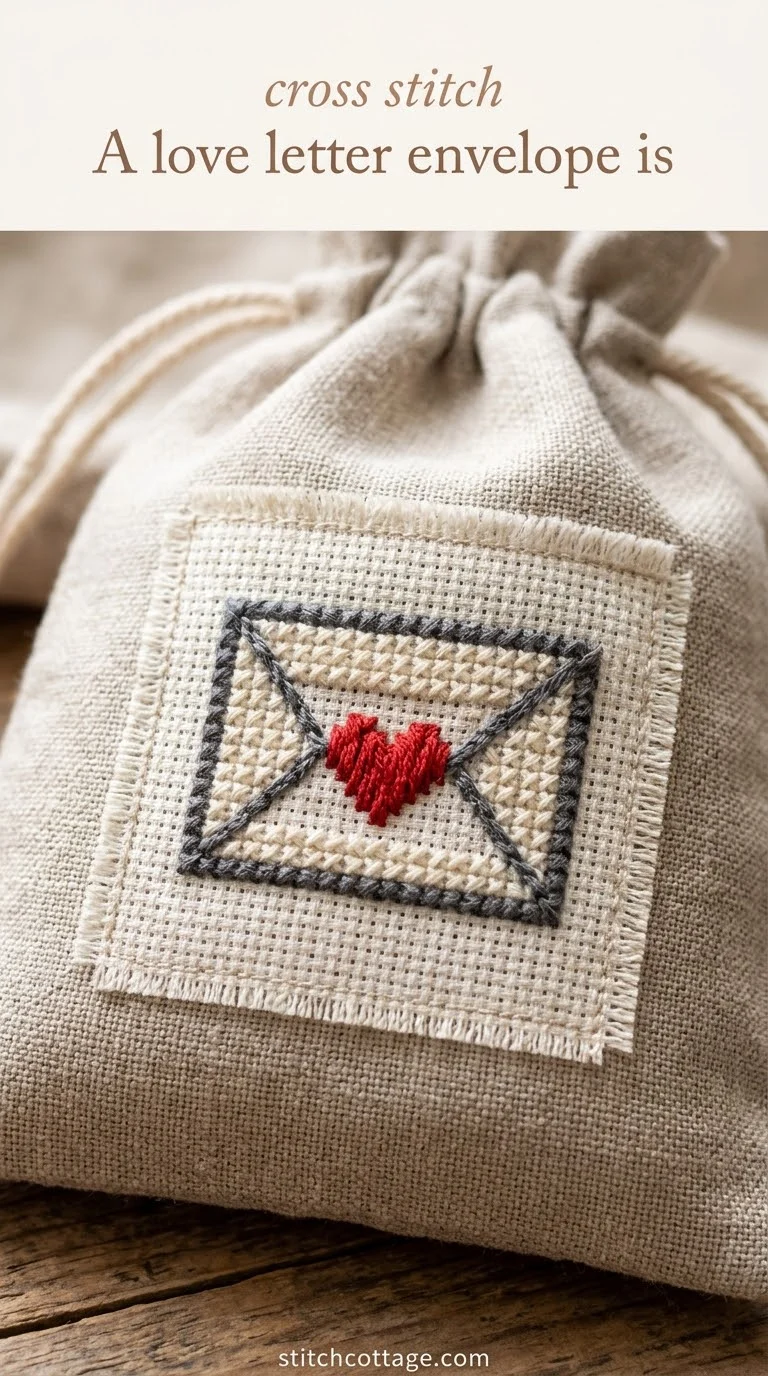
4. A love letter envelope is a weekend valentine you can fold
An envelope is a rectangle with a triangle flap, so the chart is mostly straight lines. That makes it kind to a beginner. You get a motif that looks like a gift before it is one.
- Chart a 30 by 30 block with the flap in the upper third.
- Stitch the flap edge in one colour, then the lower body in another.
- Add a small seal in a third colour, three colours in all.
- Secure the thread ends under finished stitches on the back and avoid knots, so the mounted piece sits flat.
- Mount it on card so it reads as a tiny letter.
Knots are the usual failure. They make lumps behind the fabric and the mounted envelope will not sit flat. Tuck the tail instead.
Finish the whole stretch with one pass of the back against a lamp, and fix any loose loop before you mount.
This one suits a friend who likes small, handmade things. I tuck a folded note behind the stitched panel before I close the back. The flap lines up with the card edge, and the seal sits where a stamp would. You plan the weekend: stitch on day one, mount and write on day two.
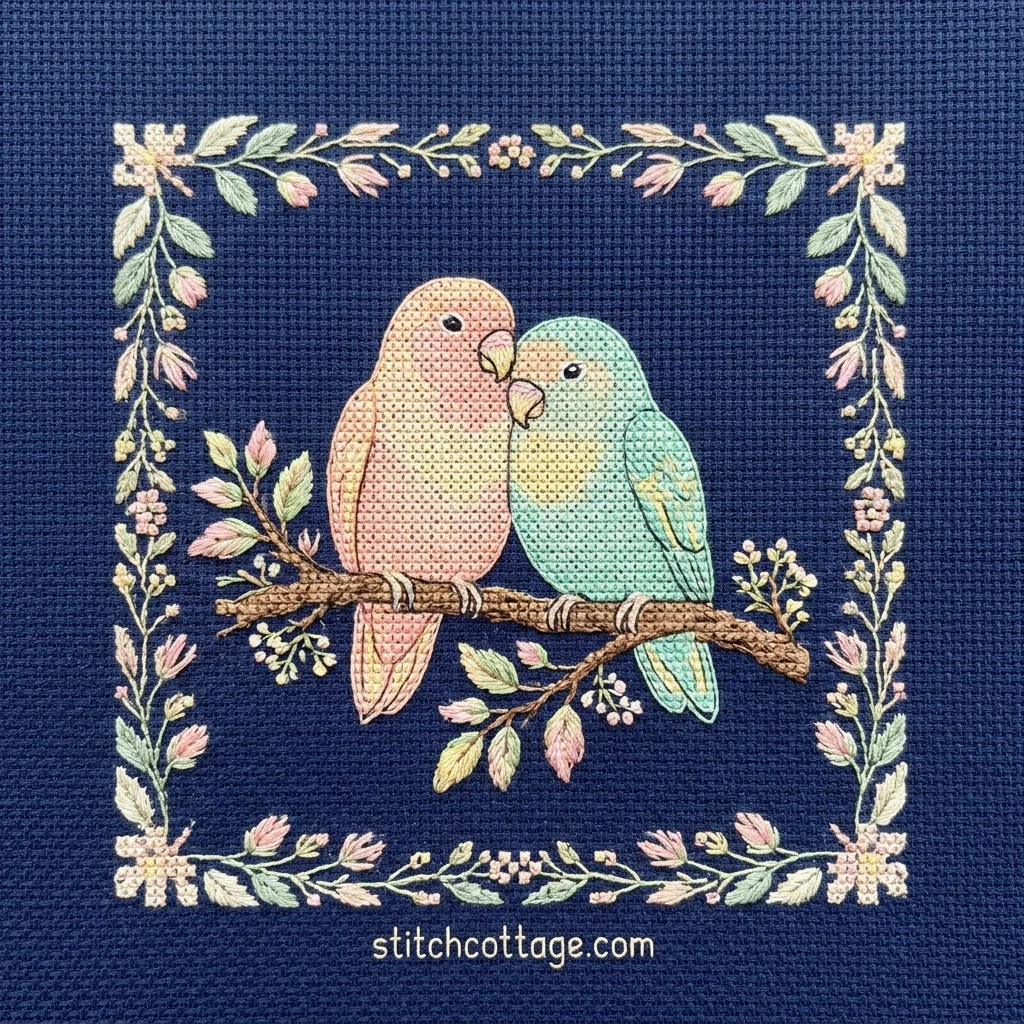
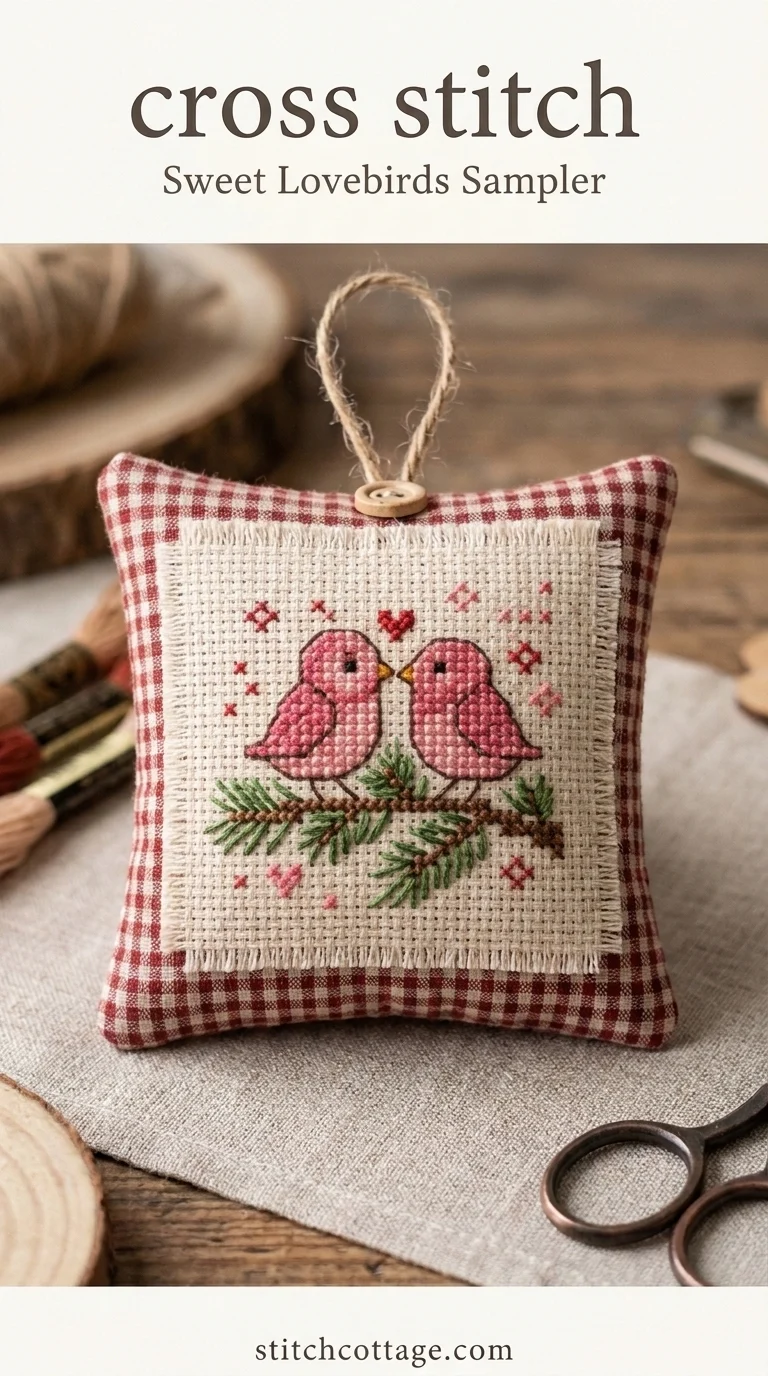
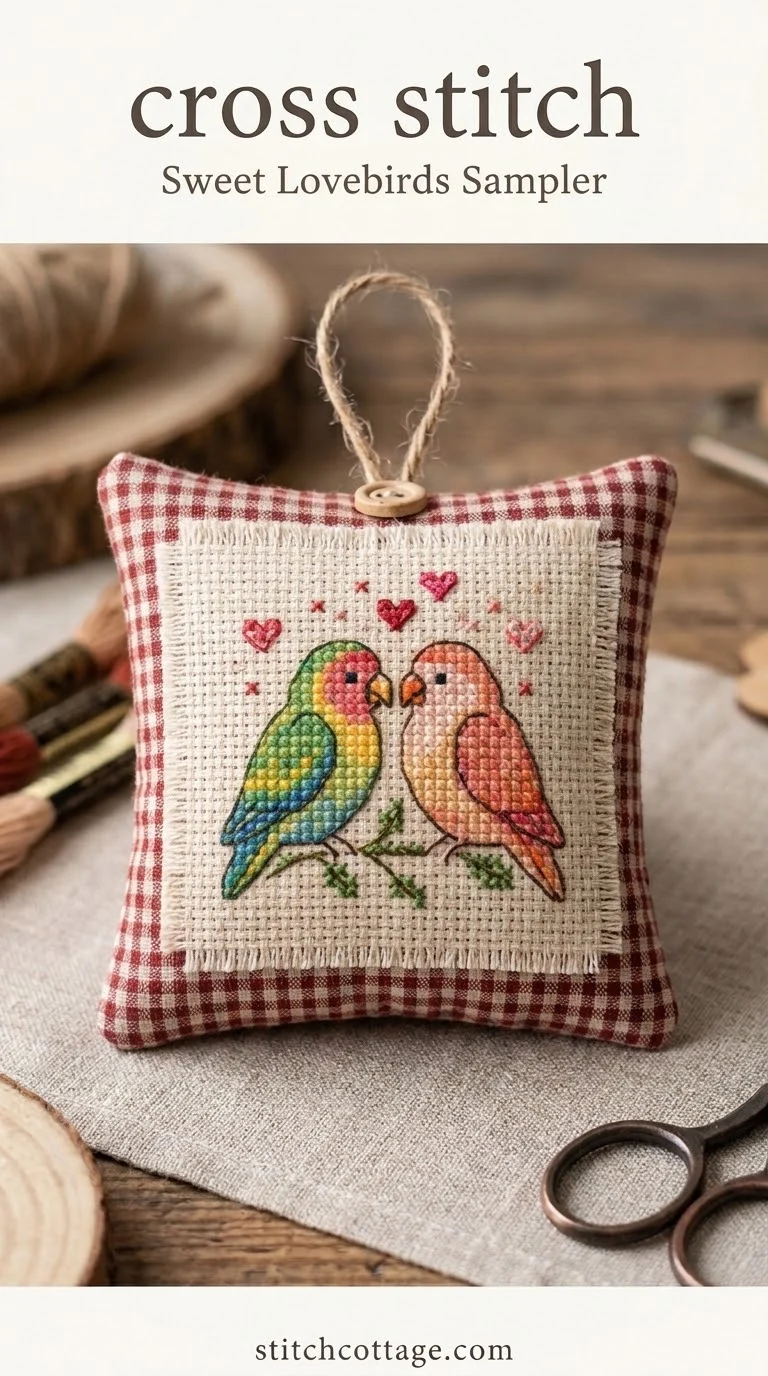
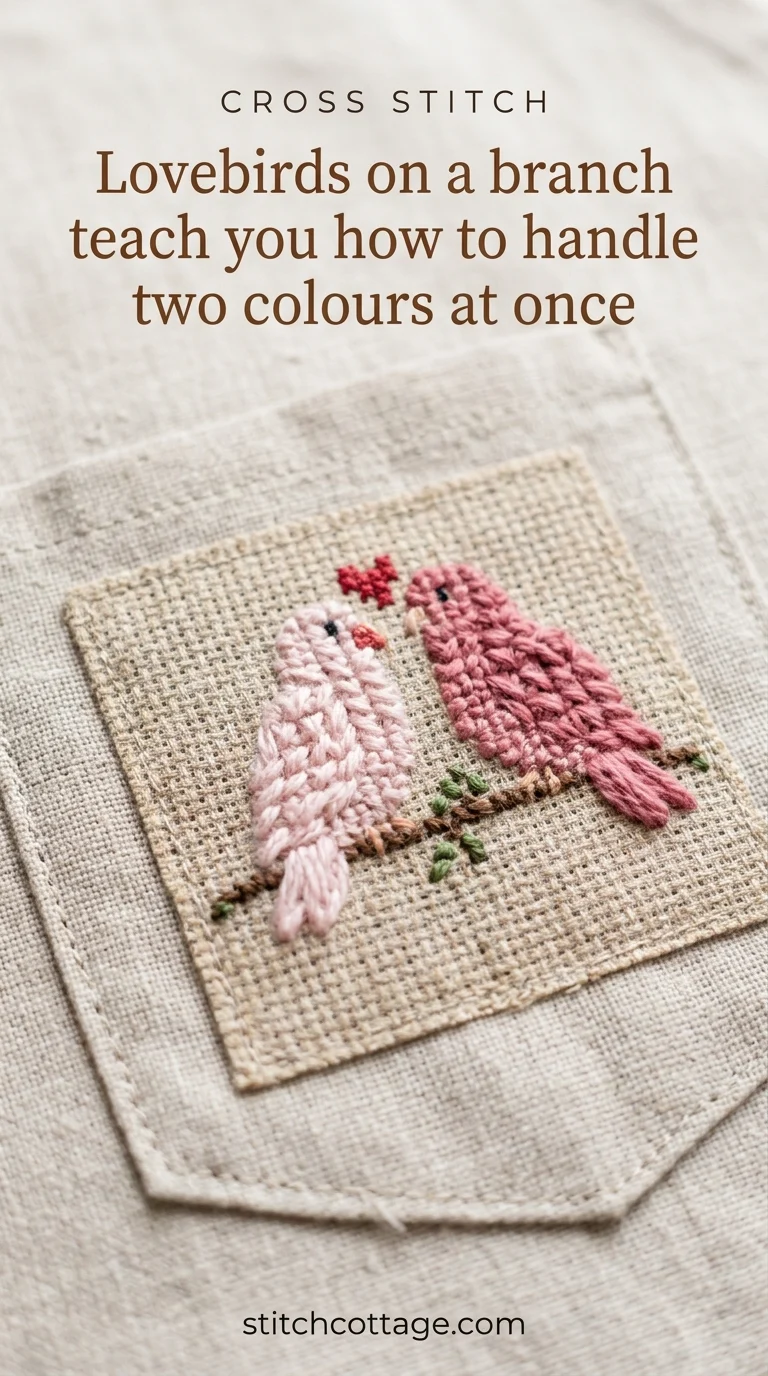
5. Lovebirds on a branch teach you how to handle two colours at once
Two birds on one branch means two bodies and a dark branch between them. This is where a colour key earns its keep. Symbols differ from chart to chart, so you read the thread from the key.
For a calm background you can lean on the moon, and my ten moon cross stitch ideas show how little a night scene needs.
- Label each thread with the code from the key.
- Anchor the branch first and let the leaves follow it.
- Work the left bird, then the right bird.
- Add the eyes in backstitch with one strand.
The branch can mislead you. A dark thread carried over empty squares shows through light fabric. Cut it and start again near the next patch.
I pick two birds in different colours so you can tell them apart at a glance. A pale pink body and a deeper one work well. You stitch the lighter bird first, so dark fibres from the other bird do not fuzz onto it. Then you check that the two beaks face each other, which is the whole point of the pair.
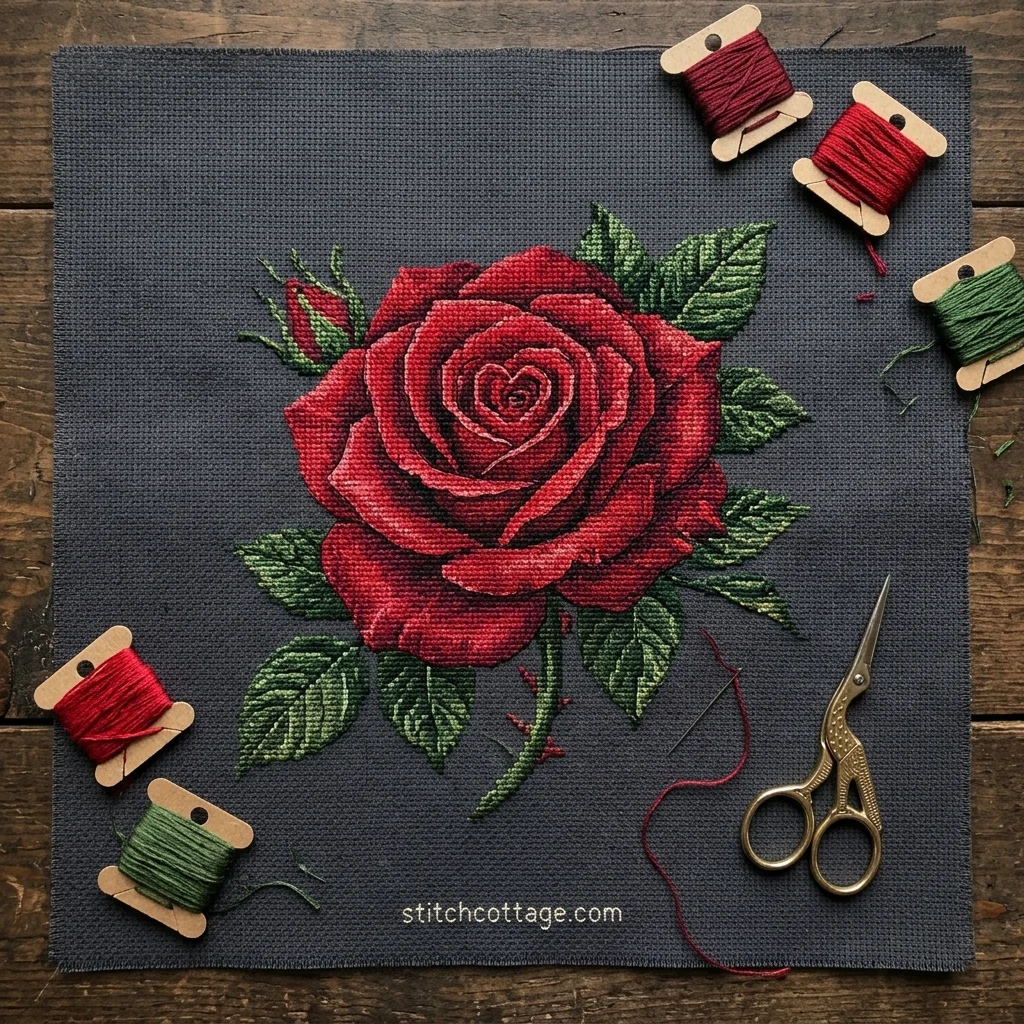
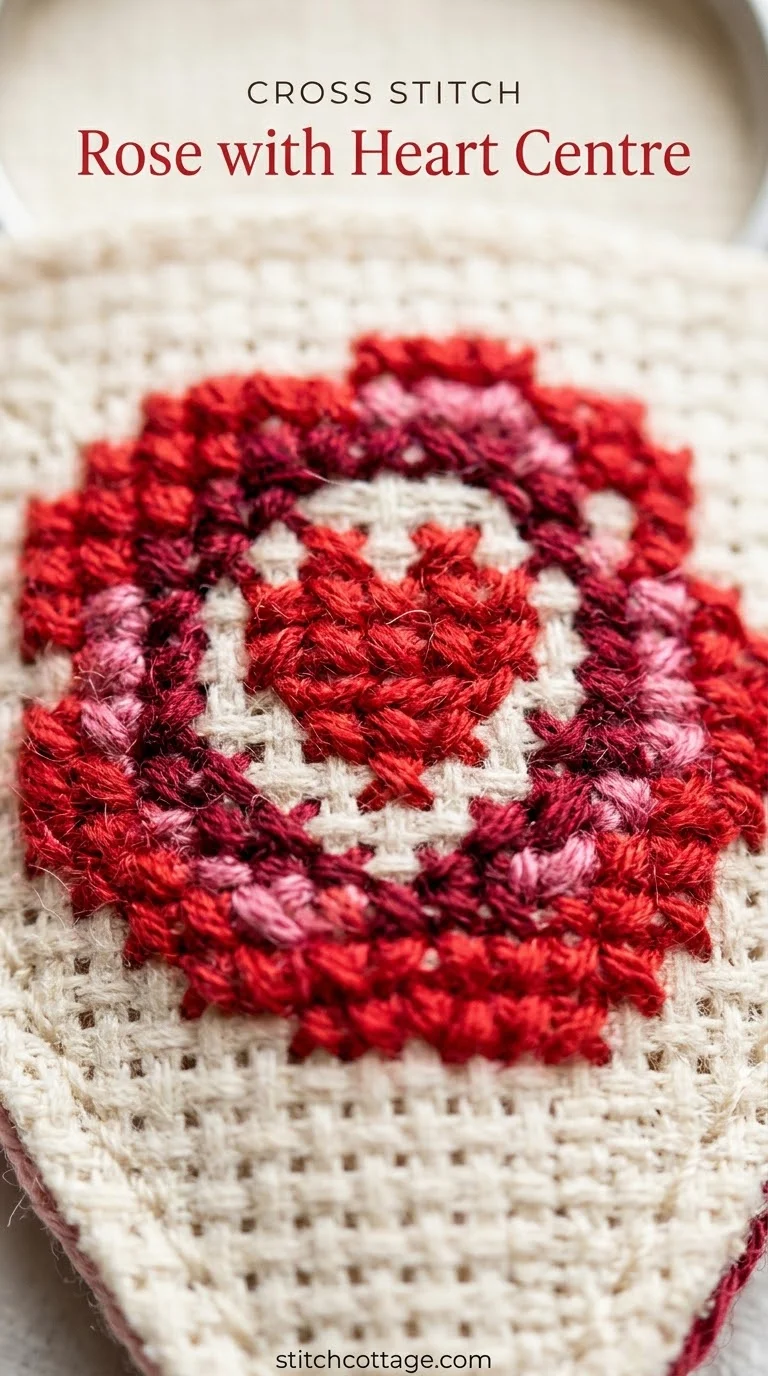
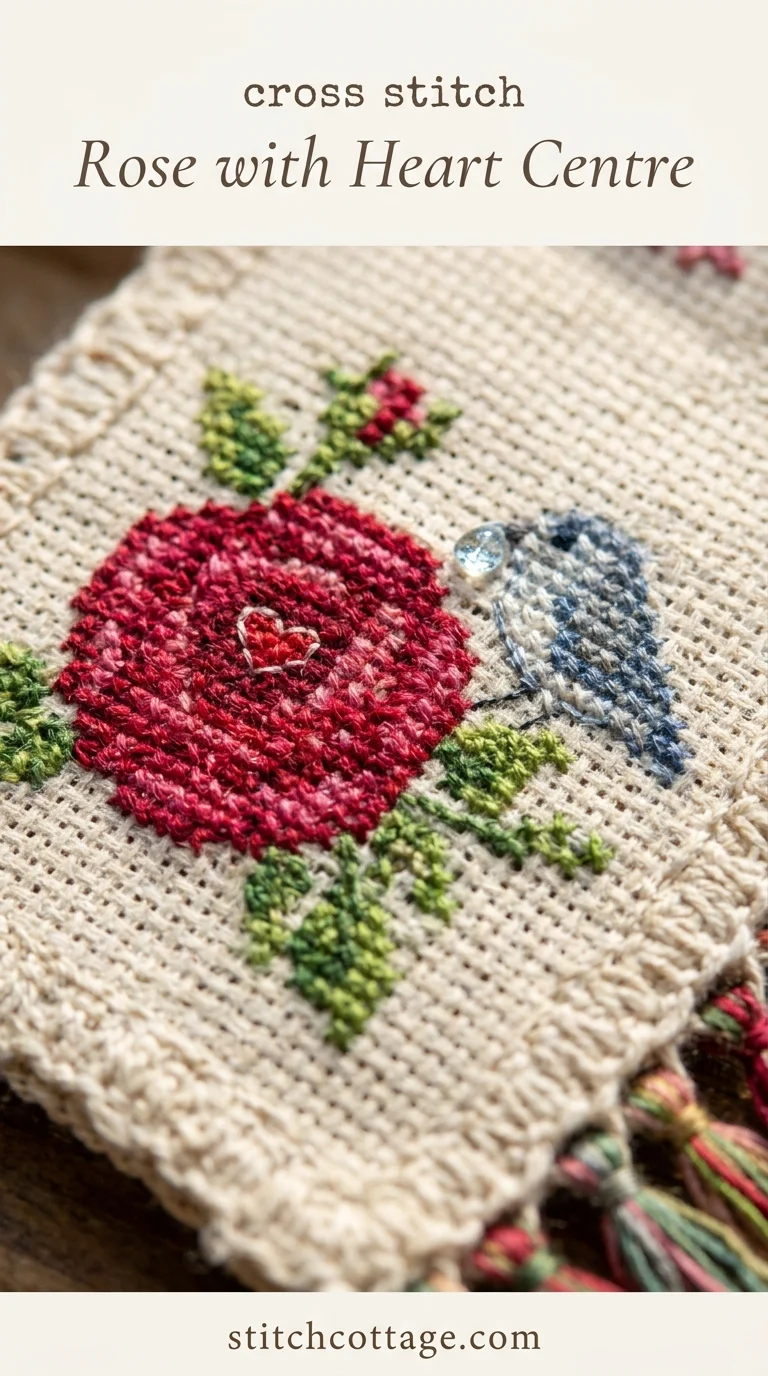
6. A rose with a heart in its centre rewards slow tension
A rose is round, and cross stitch is square. So the outline steps, and tension decides how soft the steps look. Pull too tight and you warp the grid, and gaps open between the crosses.
- Chart the rose about 30 by 30 stitches, with the heart at the centre.
- Stitch the heart first, because it is your reference point.
- Work the petals outward in two shades of red.
- Let each stitch lie flat, neither tight nor floppy.
- Run a finger over the surface to feel any puckering.
Stitching too loose is the opposite fault, and it leaves uneven crosses. Aim for a relaxed tension that holds the shape.
I would call this one a practised stitcher’s valentine. Count it twice before you start. A beginner can still do it, just not in an evening.
You need a full week for this valentine if you stitch only after work. The shading takes patience, and rushing it shows. I stitch one petal row a night and check the count each time. You can also stop at the heart and call it done, if the deadline is close.
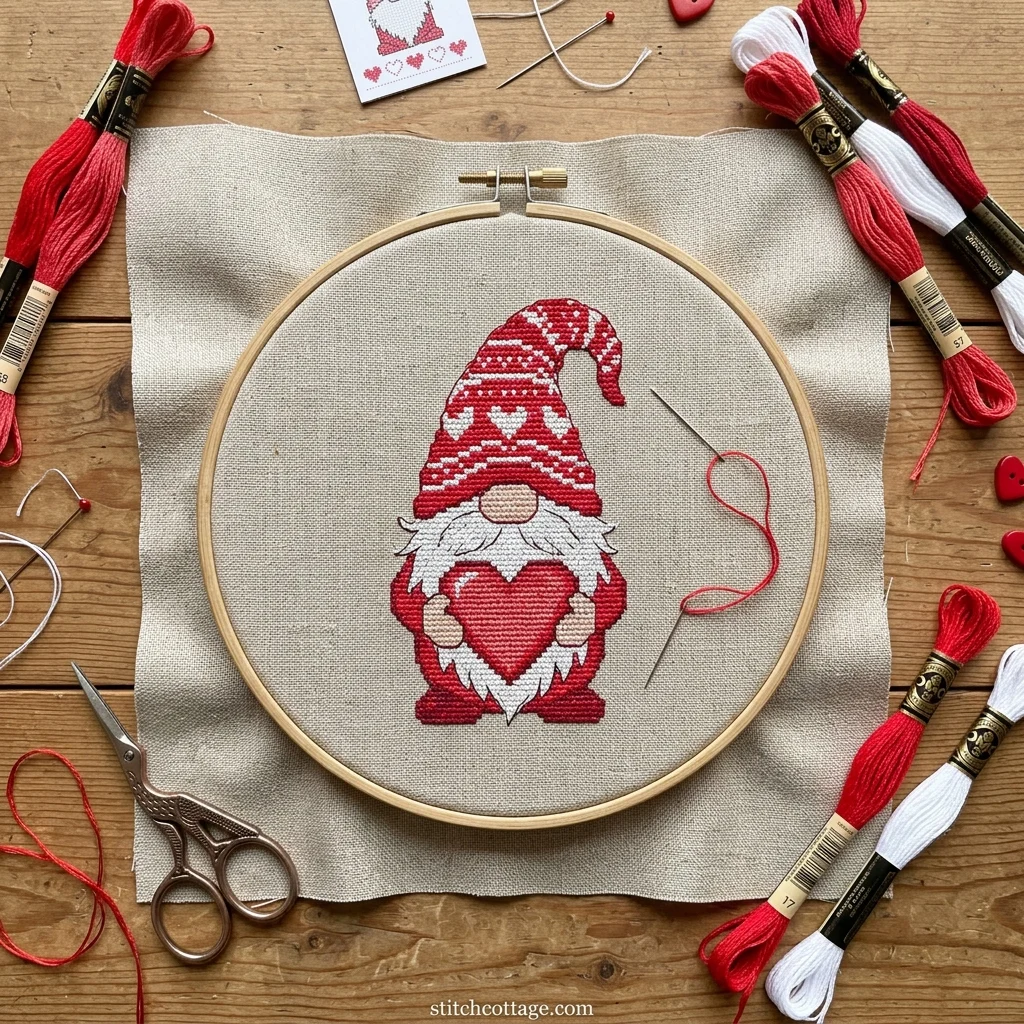
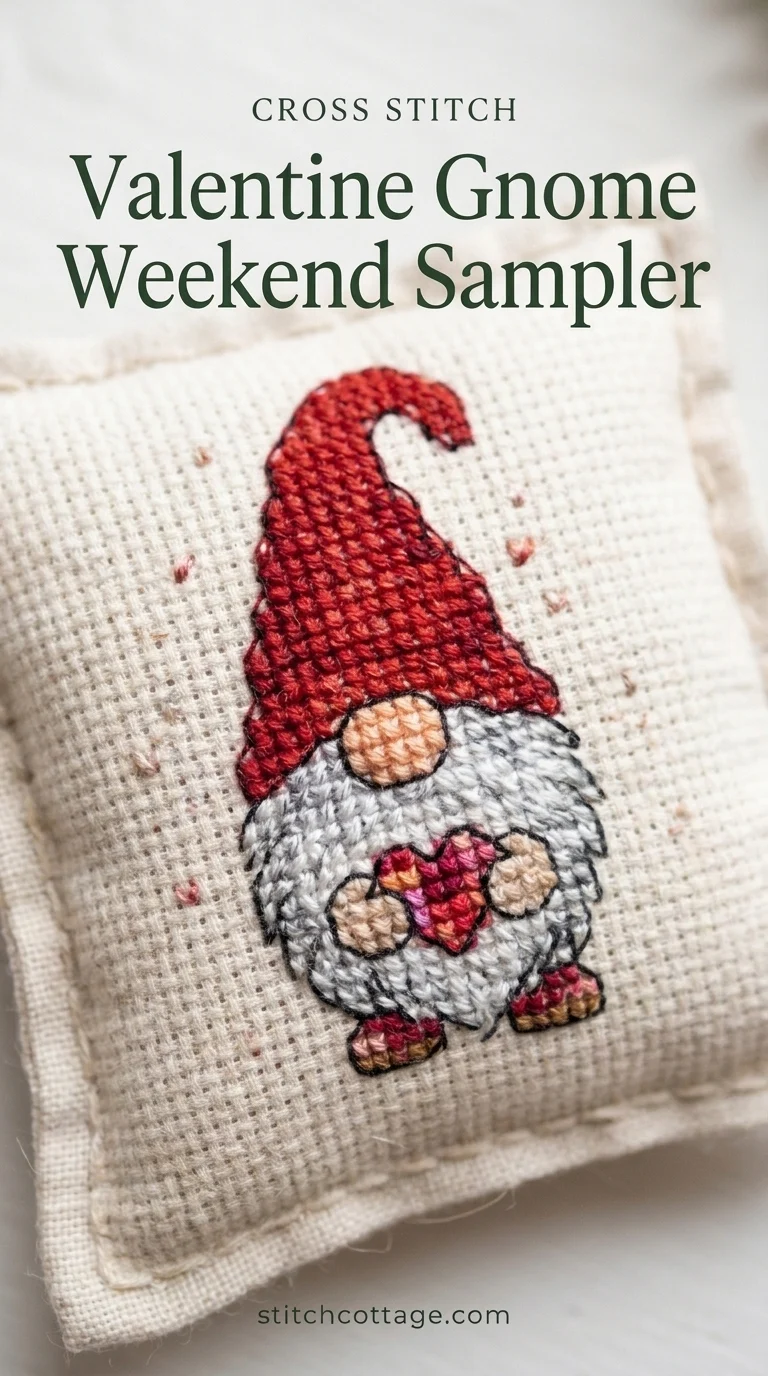
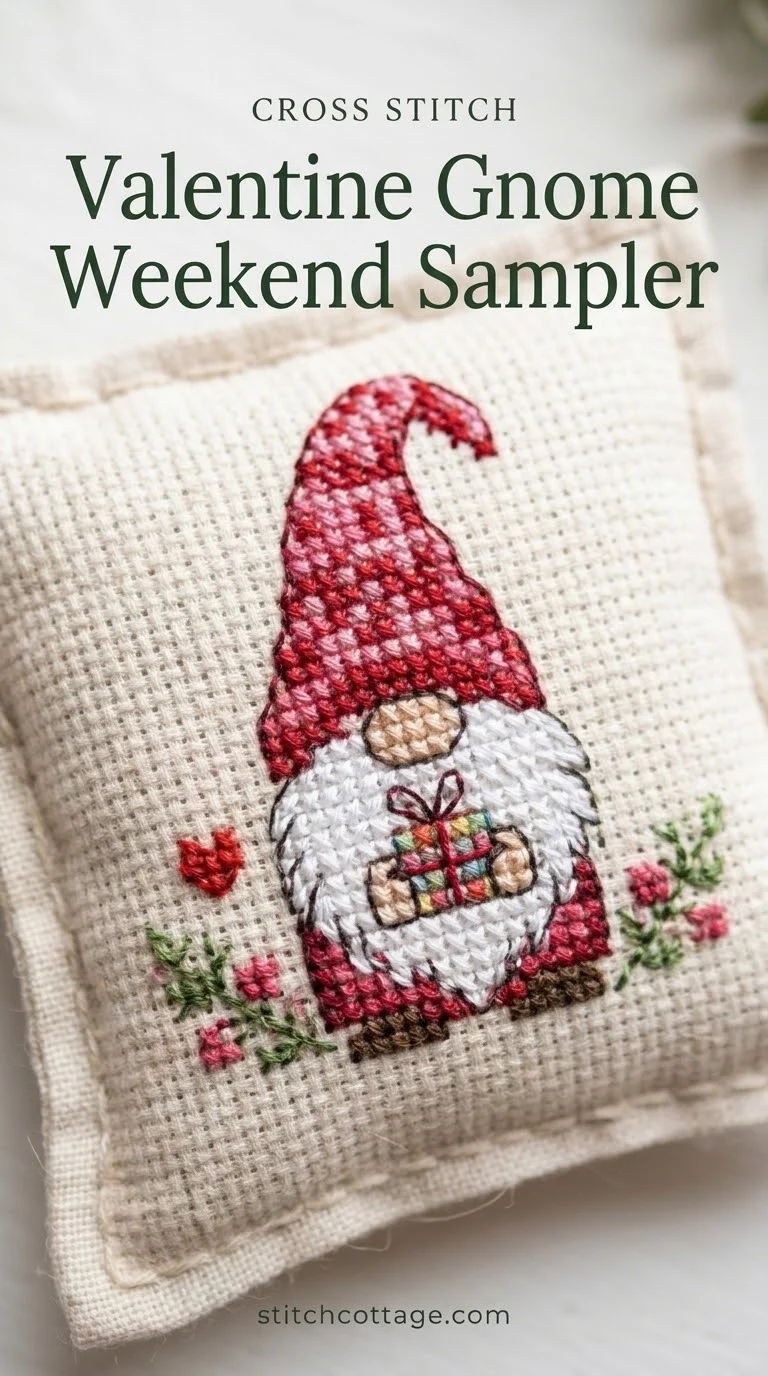
7. A valentine gnome is a weekend project with a clear colour plan
A gnome is a hat, a beard and a nose, so you can read the whole figure at a glance. The hat takes the most thread, and the beard stays pale. Small clear shapes make it forgiving.
If you enjoy tiny woodland figures, my mushroom patterns and chart checks use the same approach.
- Chart the gnome about 30 by 30 stitches.
- Match the arrows on the chart edges to the folds in the fabric.
- Stitch the hat band first, then work up to the tip.
- Fill the beard, leaving the nose as a single stitch of colour.
- Finish with a small backstitch outline in one strand.
It breaks at the beard. The pale area runs wide, and a miscount shows. Recount from the centre before you continue.
The gnome has a cheerful, homemade look that suits a mantel or a shelf. I use a deep red for the hat and keep the beard a pale neutral. Two or three colours are enough. You can mount it in a small frame, or stitch two and hang them as a pair.
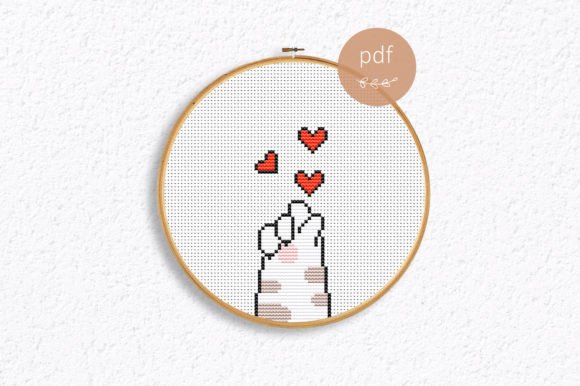
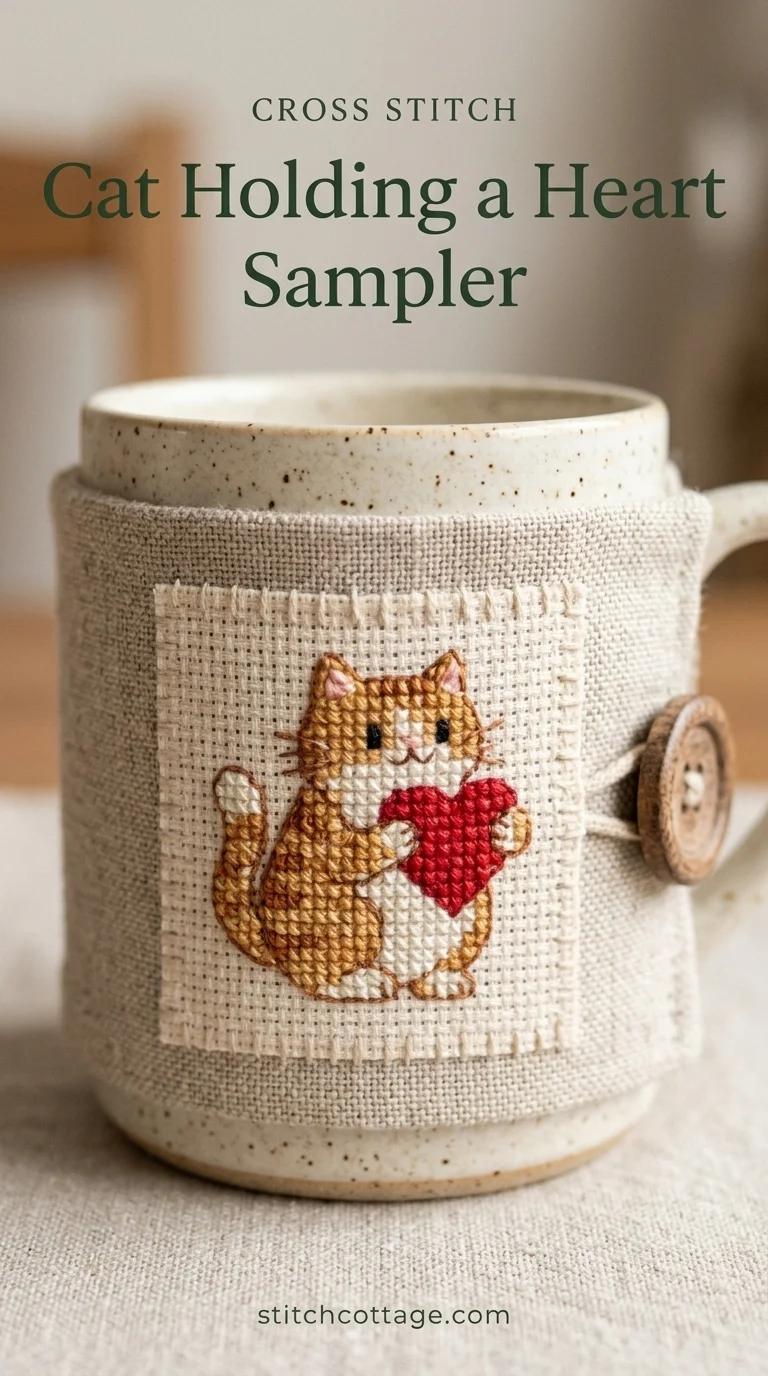
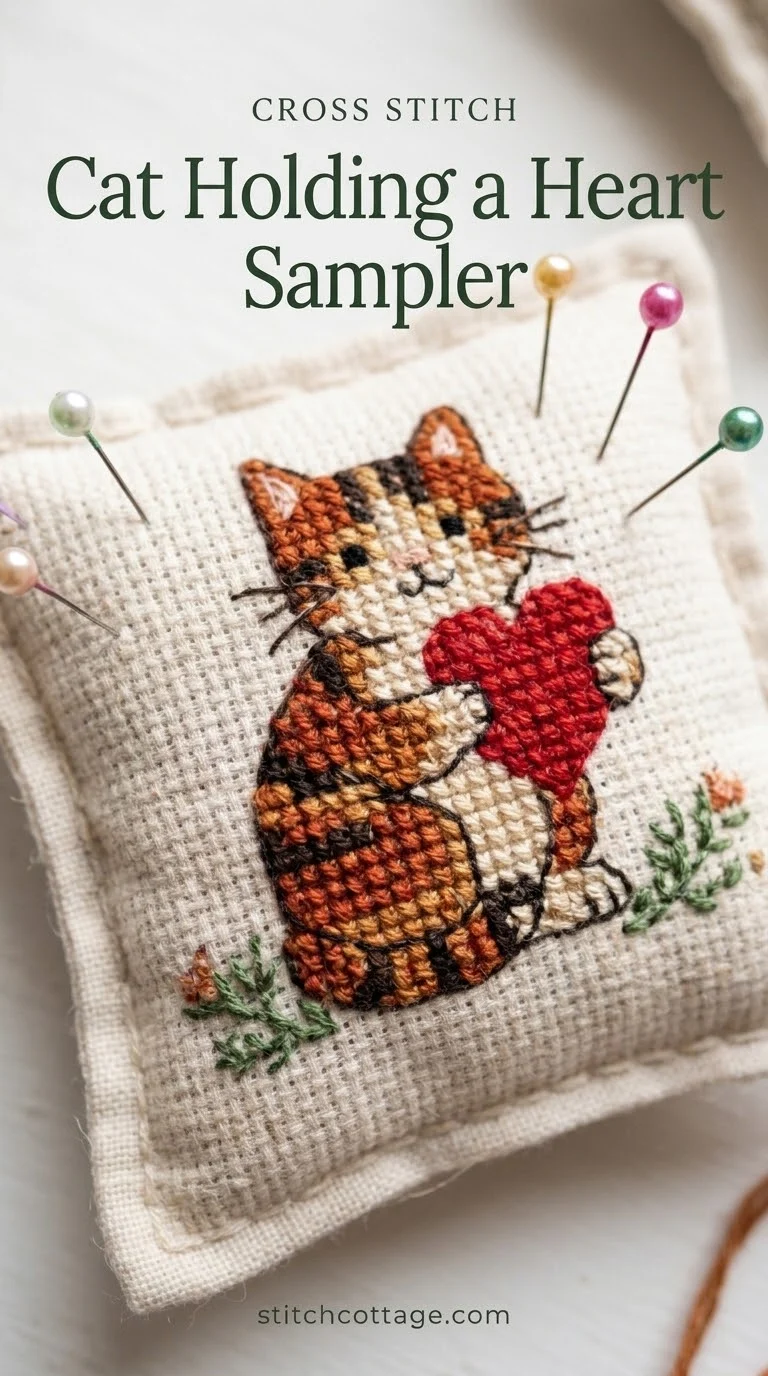
8. A cat holding a heart is the valentine for a cat person
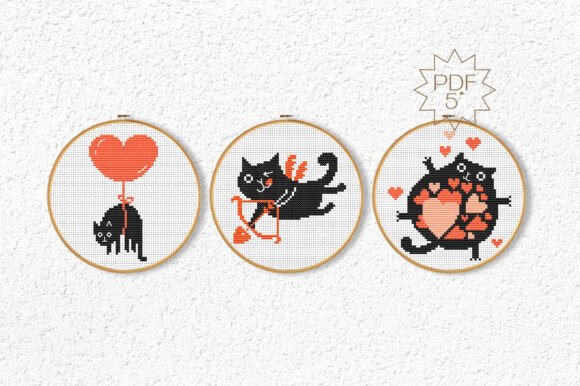
A cat is mostly a head and two ears, so you spend your time on the face. The heart in its paws is a small block of red. That contrast keeps the chart easy to read.
For more cat shapes, see my fifteen cat cross stitch ideas.
- Chart the cat about 30 by 30 stitches.
- Stitch the body in the main colour before any small accents.
- Add the heart in red.
- Work the whiskers and eyes in backstitch with one strand.
The face is where it goes wrong. One misplaced eye changes the whole expression, so check each eye against the chart before you move on.
This is the valentine I make for someone who loves cats more than romance. You keep the heart small so the cat stays the hero. A single bright red against a calm body colour makes the chart easy to follow. You frame it simply and give it with a short note.
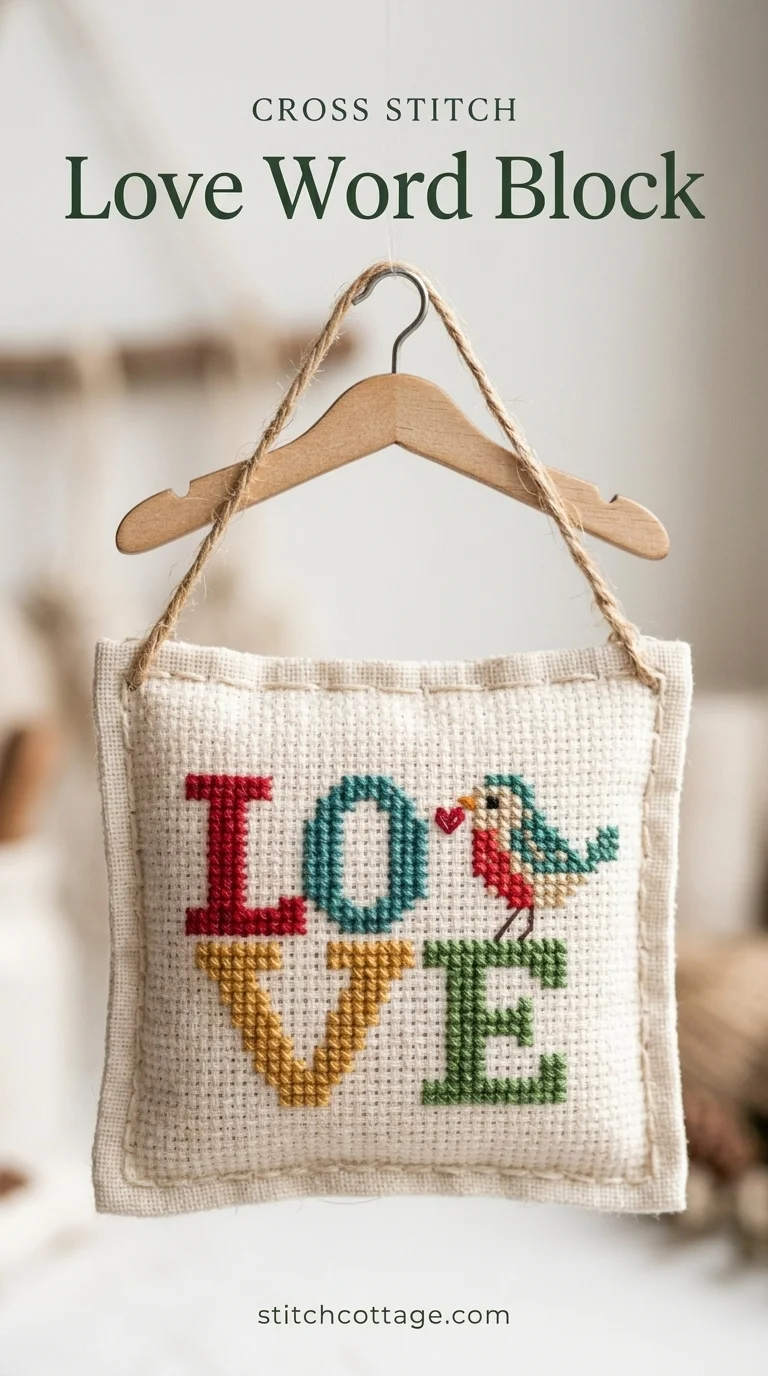
9. A love cross stitch word block is the clearest chart you will meet
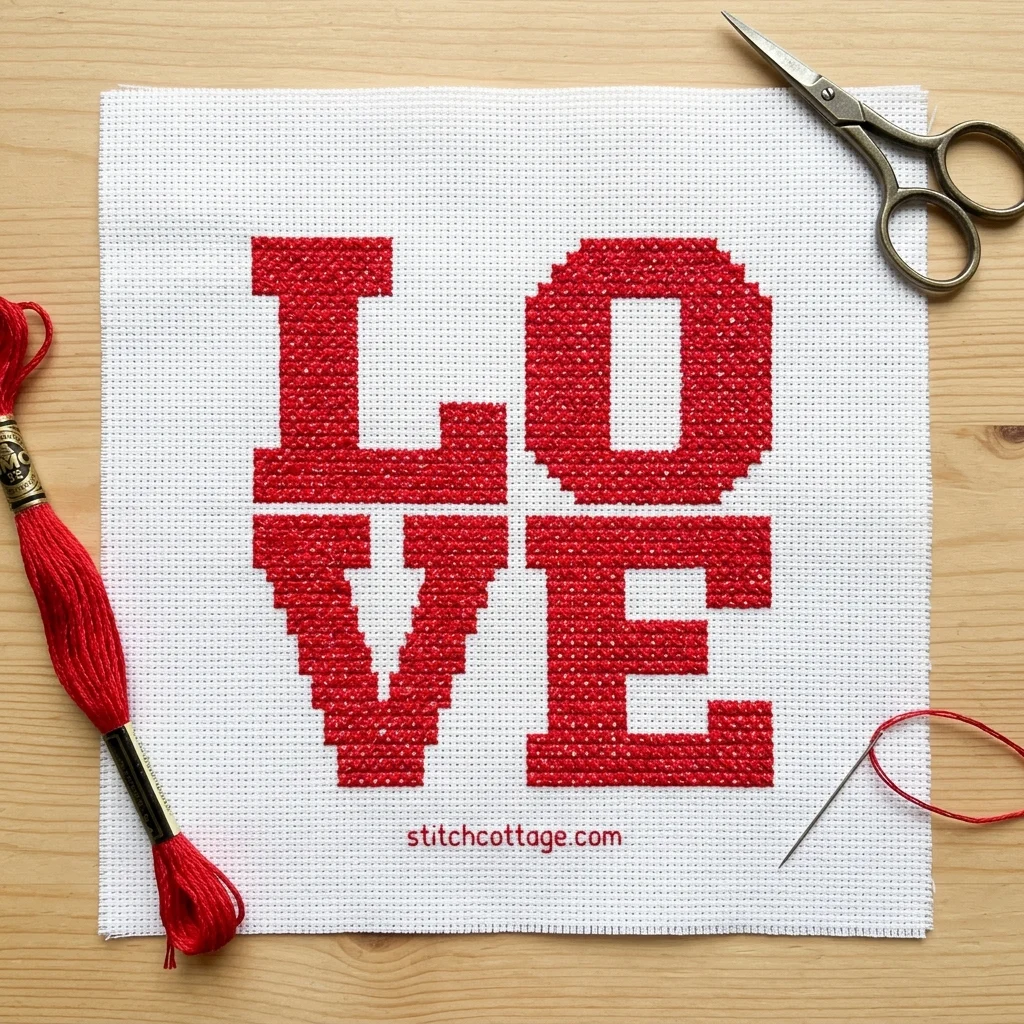
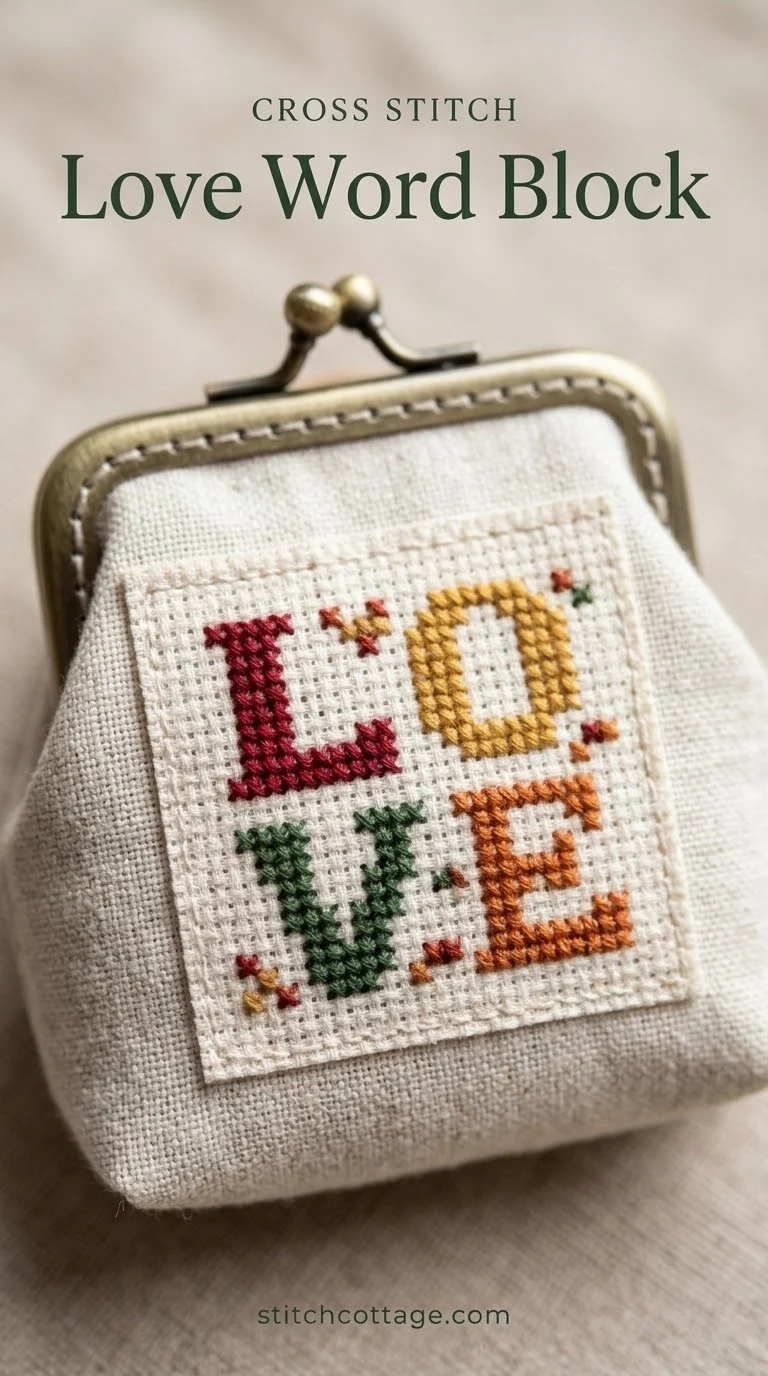
Love cross stitch in block letters is almost pure counting. There is no shading and no tricky curve. It is a good first project, because mistakes show quickly.
- Chart four block letters in a row about 20 stitches wide and 5 to 7 stitches high, with one empty column between letters.
- Tack a line of waste thread across the middle row as a guide.
- Stitch one letter at a time, from left to right.
- Count the blank squares between the letters.
- Check every letter against the chart, not just the last one.
The blank columns between the letters are the danger. Skip one and the word looks cramped. Recount before you stitch the next letter.
Mark each section you have verified on a working copy. It saves your place on a long evening.
Because there is nothing to shade, this is the one I hand to a beginner. You pick one bold colour and stitch every letter in it. It finishes quickly, and you can frame it in a plain wooden frame. Need a second colour? Keep it for a small border, not the letters.
10. A gift tag set uses one palette across three tiny motifs
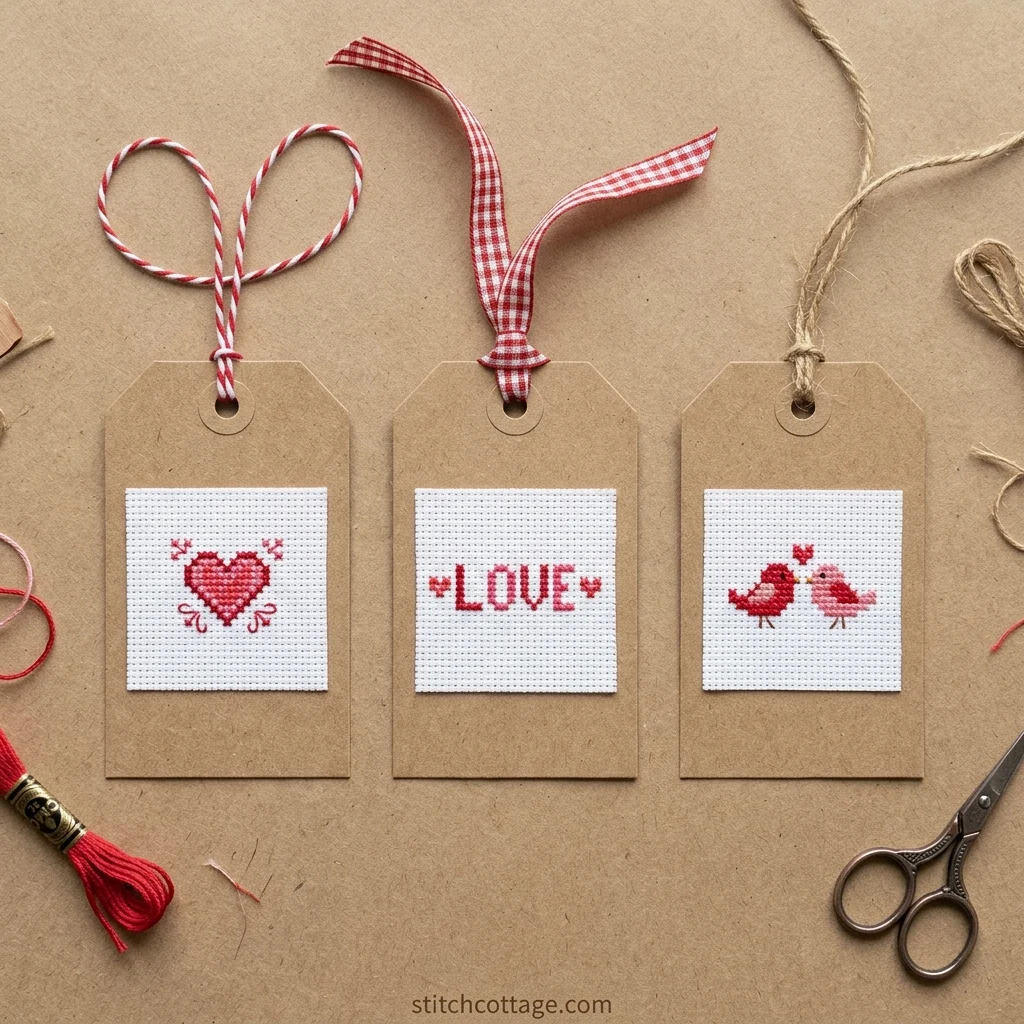
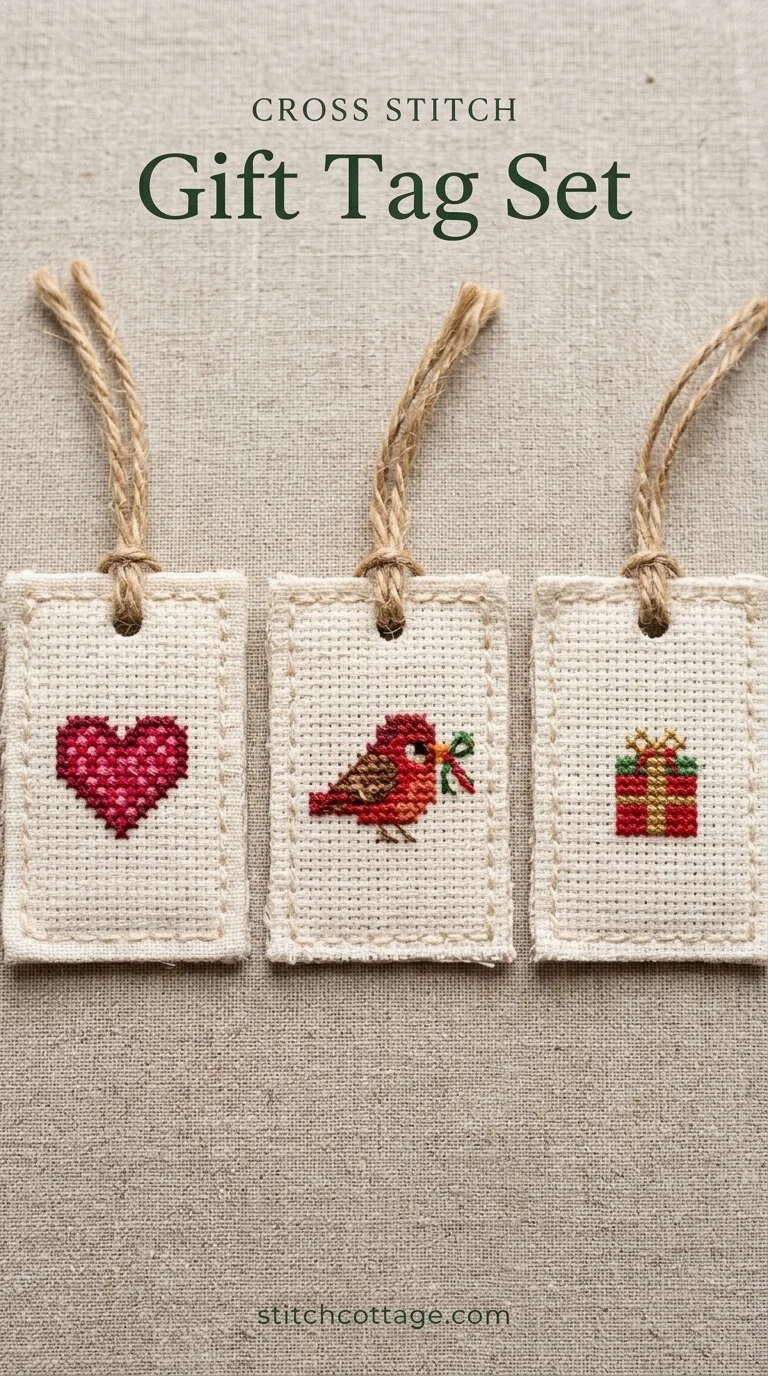
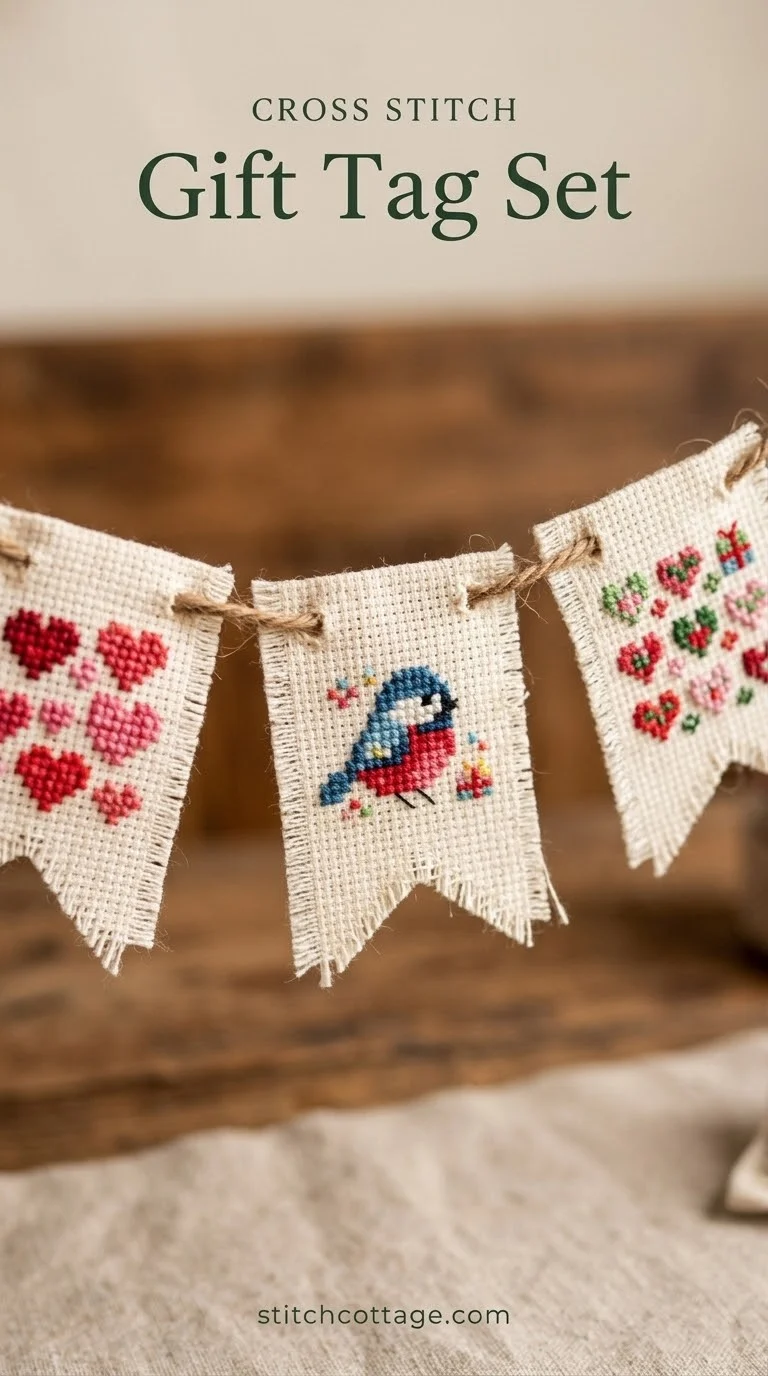
A set of three tags is three small motifs in one palette. You buy or chart the thread once, and every tag matches. That saves time and keeps the set looking deliberate.
- Choose one palette of three colours for the whole set.
- Chart each tag at about 20 by 20 stitches.
- Stitch the three tags in the same order, colour by colour.
- Press them from the back and trim with equal margins.
- Stick each panel onto a card tag or felt backing with a thin line of fabric glue, then punch the hole through the backing and thread a ribbon through.
Uneven margins are the weak point. Cut the aida to the same size on all four sides, or the tags will look mismatched.
Tags are the budget-friendly way to use up leftover floss. You need very little thread per tag, so odds and ends are enough. You pair them with a wrapped box and a ribbon. Because the set shares one palette, it looks planned even when each motif is different.
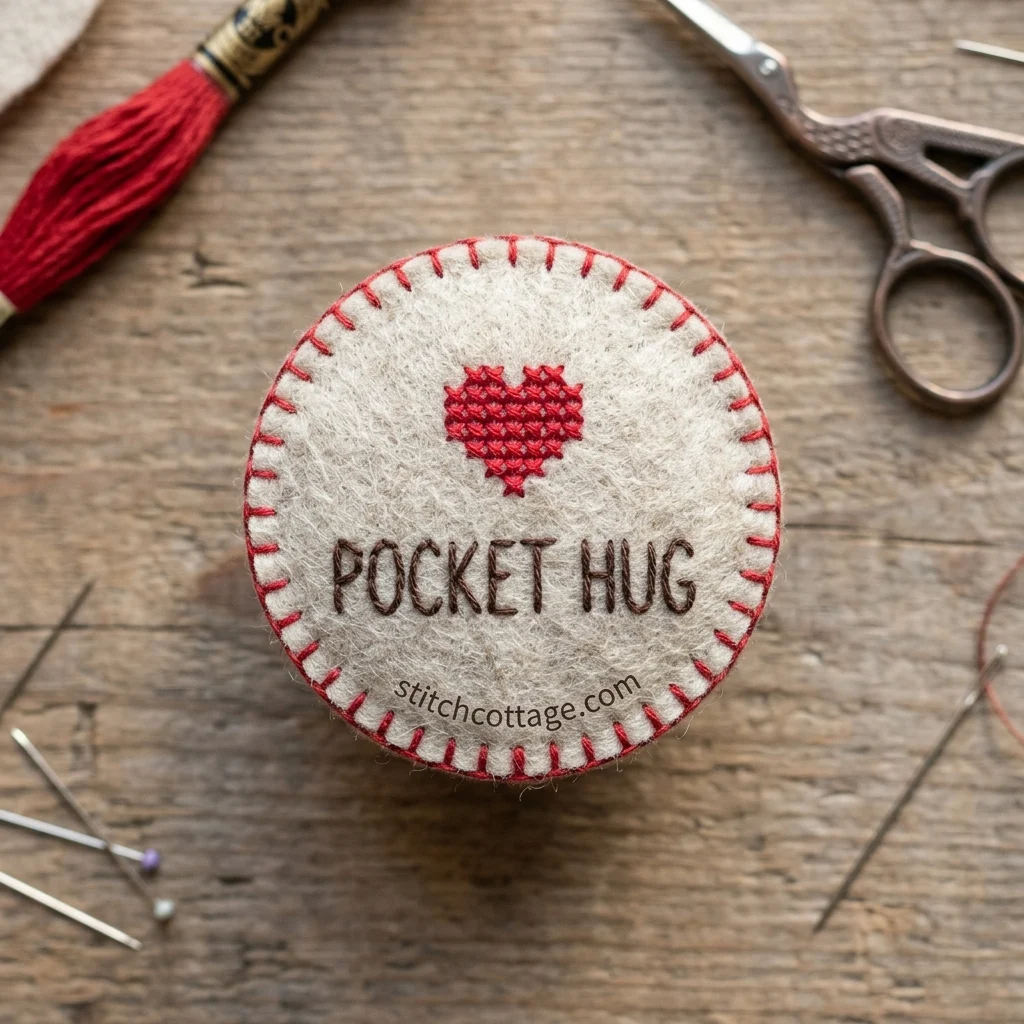
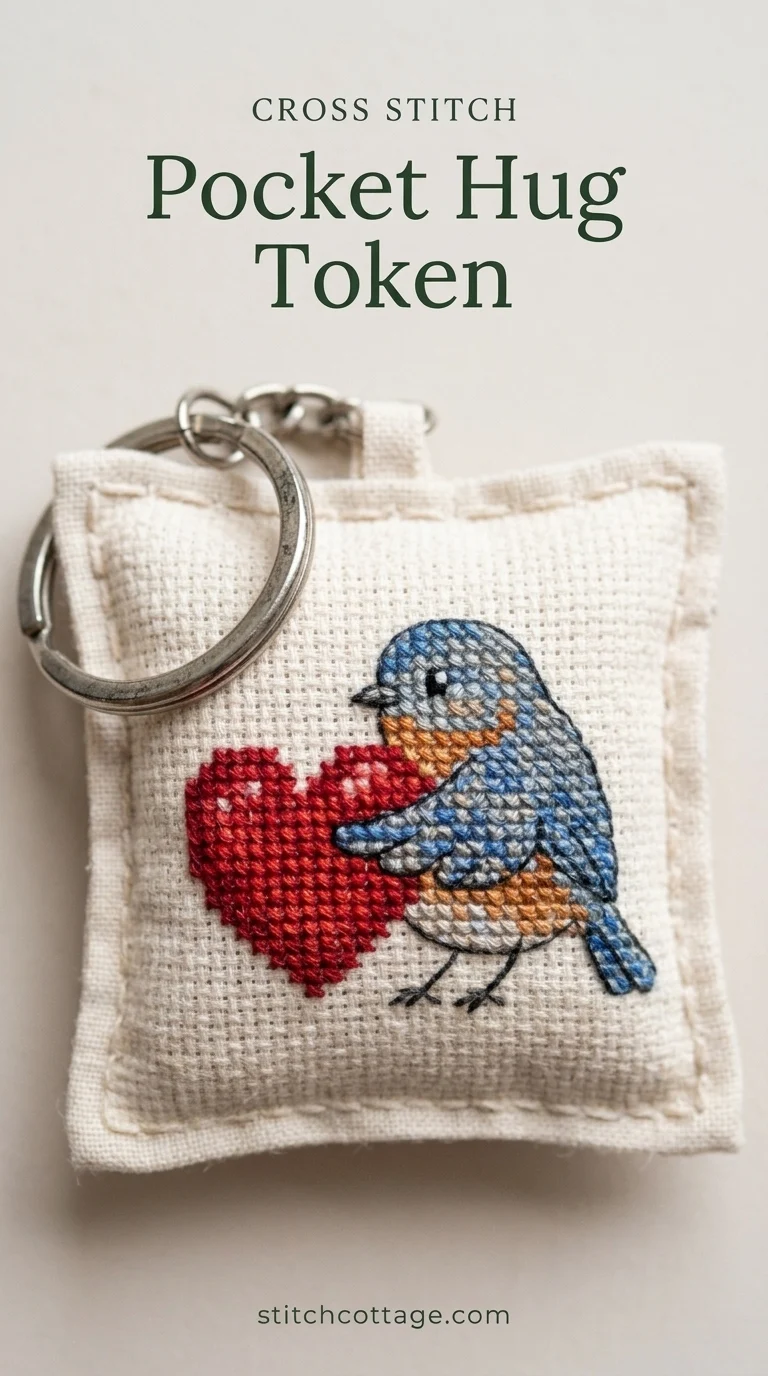
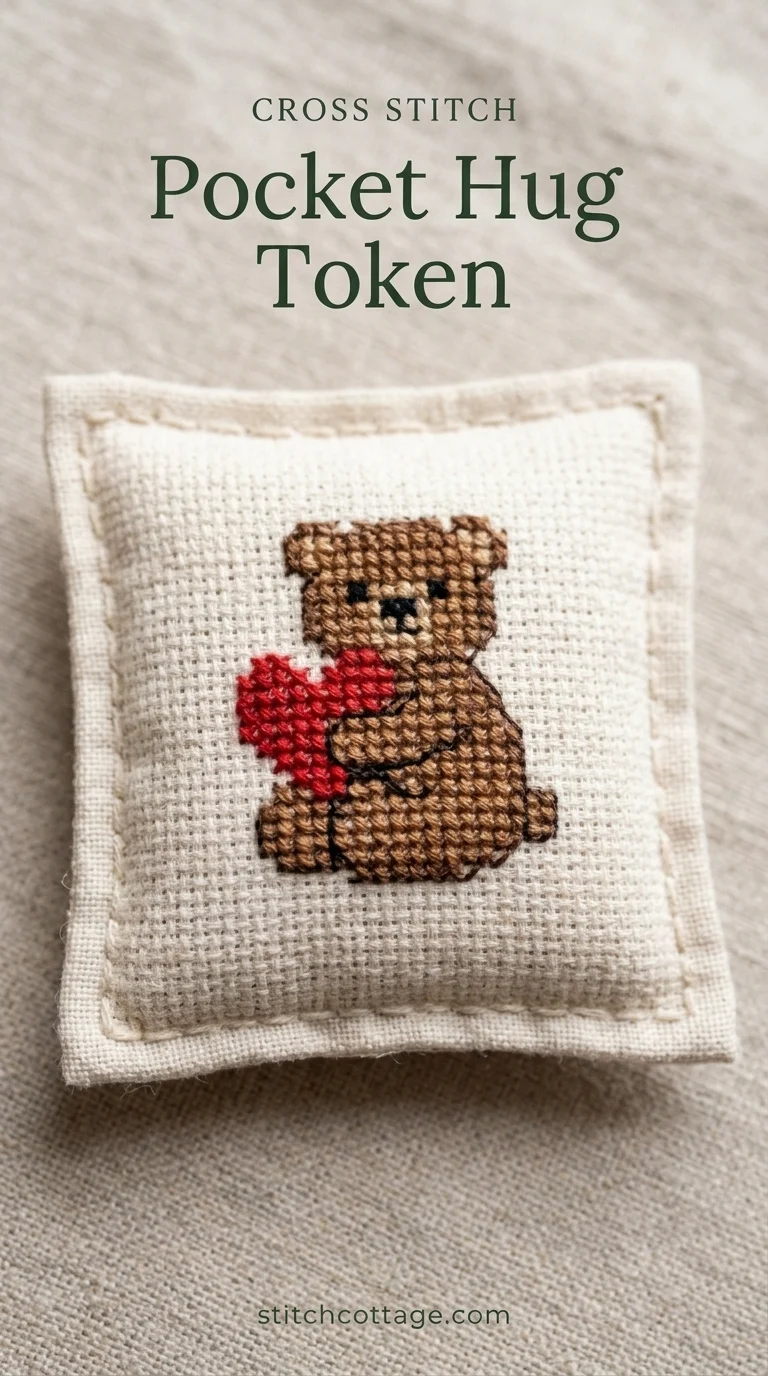
11. A pocket hug token is a small stitched piece to keep close
This is the quietest valentine in the list. It is a tiny piece, no larger than 20 by 20 stitches, that goes in a pocket or a purse. Nobody frames it. They carry it.
- Pick a simple motif and chart it at about 20 by 20.
- Use 14 count aida and two strands of floss.
- Park the needle at the end of each row and check the count.
- Press it from the back, trim it and back it with felt.
It breaks on the edge. Leave enough unstitched fabric all round, or the backing will pull the design crooked.
I stitch these for people who live far away and cannot be hugged on the day. You keep the motif plain, like a small cross or a tiny house shape. It takes an evening, and it travels in an envelope. The felt back hides the edges once you have sealed the cut edge with fray check or turned the margin under, and you can slip it into an envelope or a coat pocket with a short note.
Valentines cross stitch patterns free or paid: check the chart before the first stitch
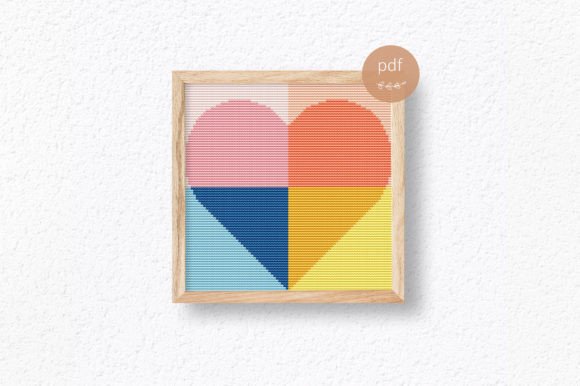
Free valentine charts often arrive as one file, with no legend page and a cropped edge you only see after printing. I check these things first, every time.
Before you stitch, confirm:
- The chart states its size in stitches across and down.
- Every symbol has a thread code in the key.
- The chart arrows are marked and the edges are not cropped.
- The finished width in inches works out when you divide by 14.
Free charts that arrive as a single file without a legend need extra care, so print the page and compare it with the stated size. Take a 42 by 56 design. On 14 count aida it measures 3 by 4 inches. You then add a margin on every side for mounting.
What you need for any of these valentines
- Fabric: 14 count aida.
- Floss: two strands for crosses, one for backstitch.
- Needle: a size 24 blunt-tip needle.
- Colours: three is plenty for a first valentine.
For a bigger step up once these are done, try my cross stitch house with sizes and colour counts.
If it goes wrong: five faults and their fixes
- Lopsided design: you miscounted or started from the wrong centre. Recount against the chart arrows and unpick to the last good row.
- Dark shadows on the front: you carried dark floss too far. Cut it and restart nearby.
- Lumps at the back: you tied knots. Tuck the tail under stitches instead.
- Warped grid: you pulled too tight. Relax your tension and keep the stitches flat.
- Cropped edge on a free chart: the file lost a row. Compare it with the stated stitch count before you begin.
I would rather recount for ten minutes than unpick for an hour.
Common questions
valentines cross stitch patterns
Look for a small motif of about 20 by 20 or 30 by 30 stitches, with a stated size and a colour key. Eleven ideas are listed above, from an xoxo sampler to a pocket token.
What should a beginner know before stitching a valentine?
Use 14 count aida, two strands of floss and a size 24 blunt-tip needle. Keep the top diagonal consistent and check the back against the light. The commonest failure is a miscount, so recount each section.
How big will a 42 by 56 stitch valentine be on 14 count aida?
It measures 3 by 4 inches. Divide the stitches across and down by the fabric count, then add a margin on each side.
How do I check a cross stitch chart before I start?
Confirm the stitch size, read every colour from the key and tick off each section you have verified.
Why does dark floss show through the front of my valentine?
You carried it too far across empty fabric. Keep carries to three or four squares, or cut the thread and restart.
Key takeaways
- Print your pattern and highlight the legend before buying skeins.
- Press two creases into the cloth to get guide marks.
- Complete every X, then add the outlines at the end.
- Look for cropped rows on a free download before spending an evening on it.
- Pick a frame or card mount now, so the margin is right.